

With the upcoming release of The Battle of Pellenor Fields – a new starter box for MESBG I never thought I’d see – I wanted to come up with a quick way to paint the Rohan contingent.
So here it is – not going to win any painting awards, but with minimal layers and limited use of washes you should be able to get a batch of them painted up quite quickly. Combine with Brushstroke’s Horse Painting Recipes and you can paint up your Riders of Rohan too.
Tip: Mix up the browns across your models for a bit of variety.
Remember to thin your paints! 2 thin coats…
I use GW paints, mainly because I can pick them up wherever I am – there’s usually a Games Workshop or stockist nearby. Any brand of paints will be fine though – check the conversion chart if you use something else.
Paints you’ll need:
- Brown spray (for undercoat) – GW don’t seem to do one, I decided to try this. Nice colour to it, not too far from Rhinox Hide.
- Waaagh! Flesh
- Dryad Bark
- Doombull Brown
- Bugman’s Glow
- Cadian Fleshtone
- Kislev Flesh
- Pallid Wych Flesh
- Abaddon Black
- Steel Legion Drab
- Zandri Dust
- Leadbelcher
- Retributor Armour
- Nuln Oil Gloss
- Reikland Fleshshade Gloss
- Agrax Earthshade
- Stormhost Silver
- Liberator Gold
- Warboss Green
- Gorthor Brown
- Baneblade Brown
- Stirland Mud
- XV-88
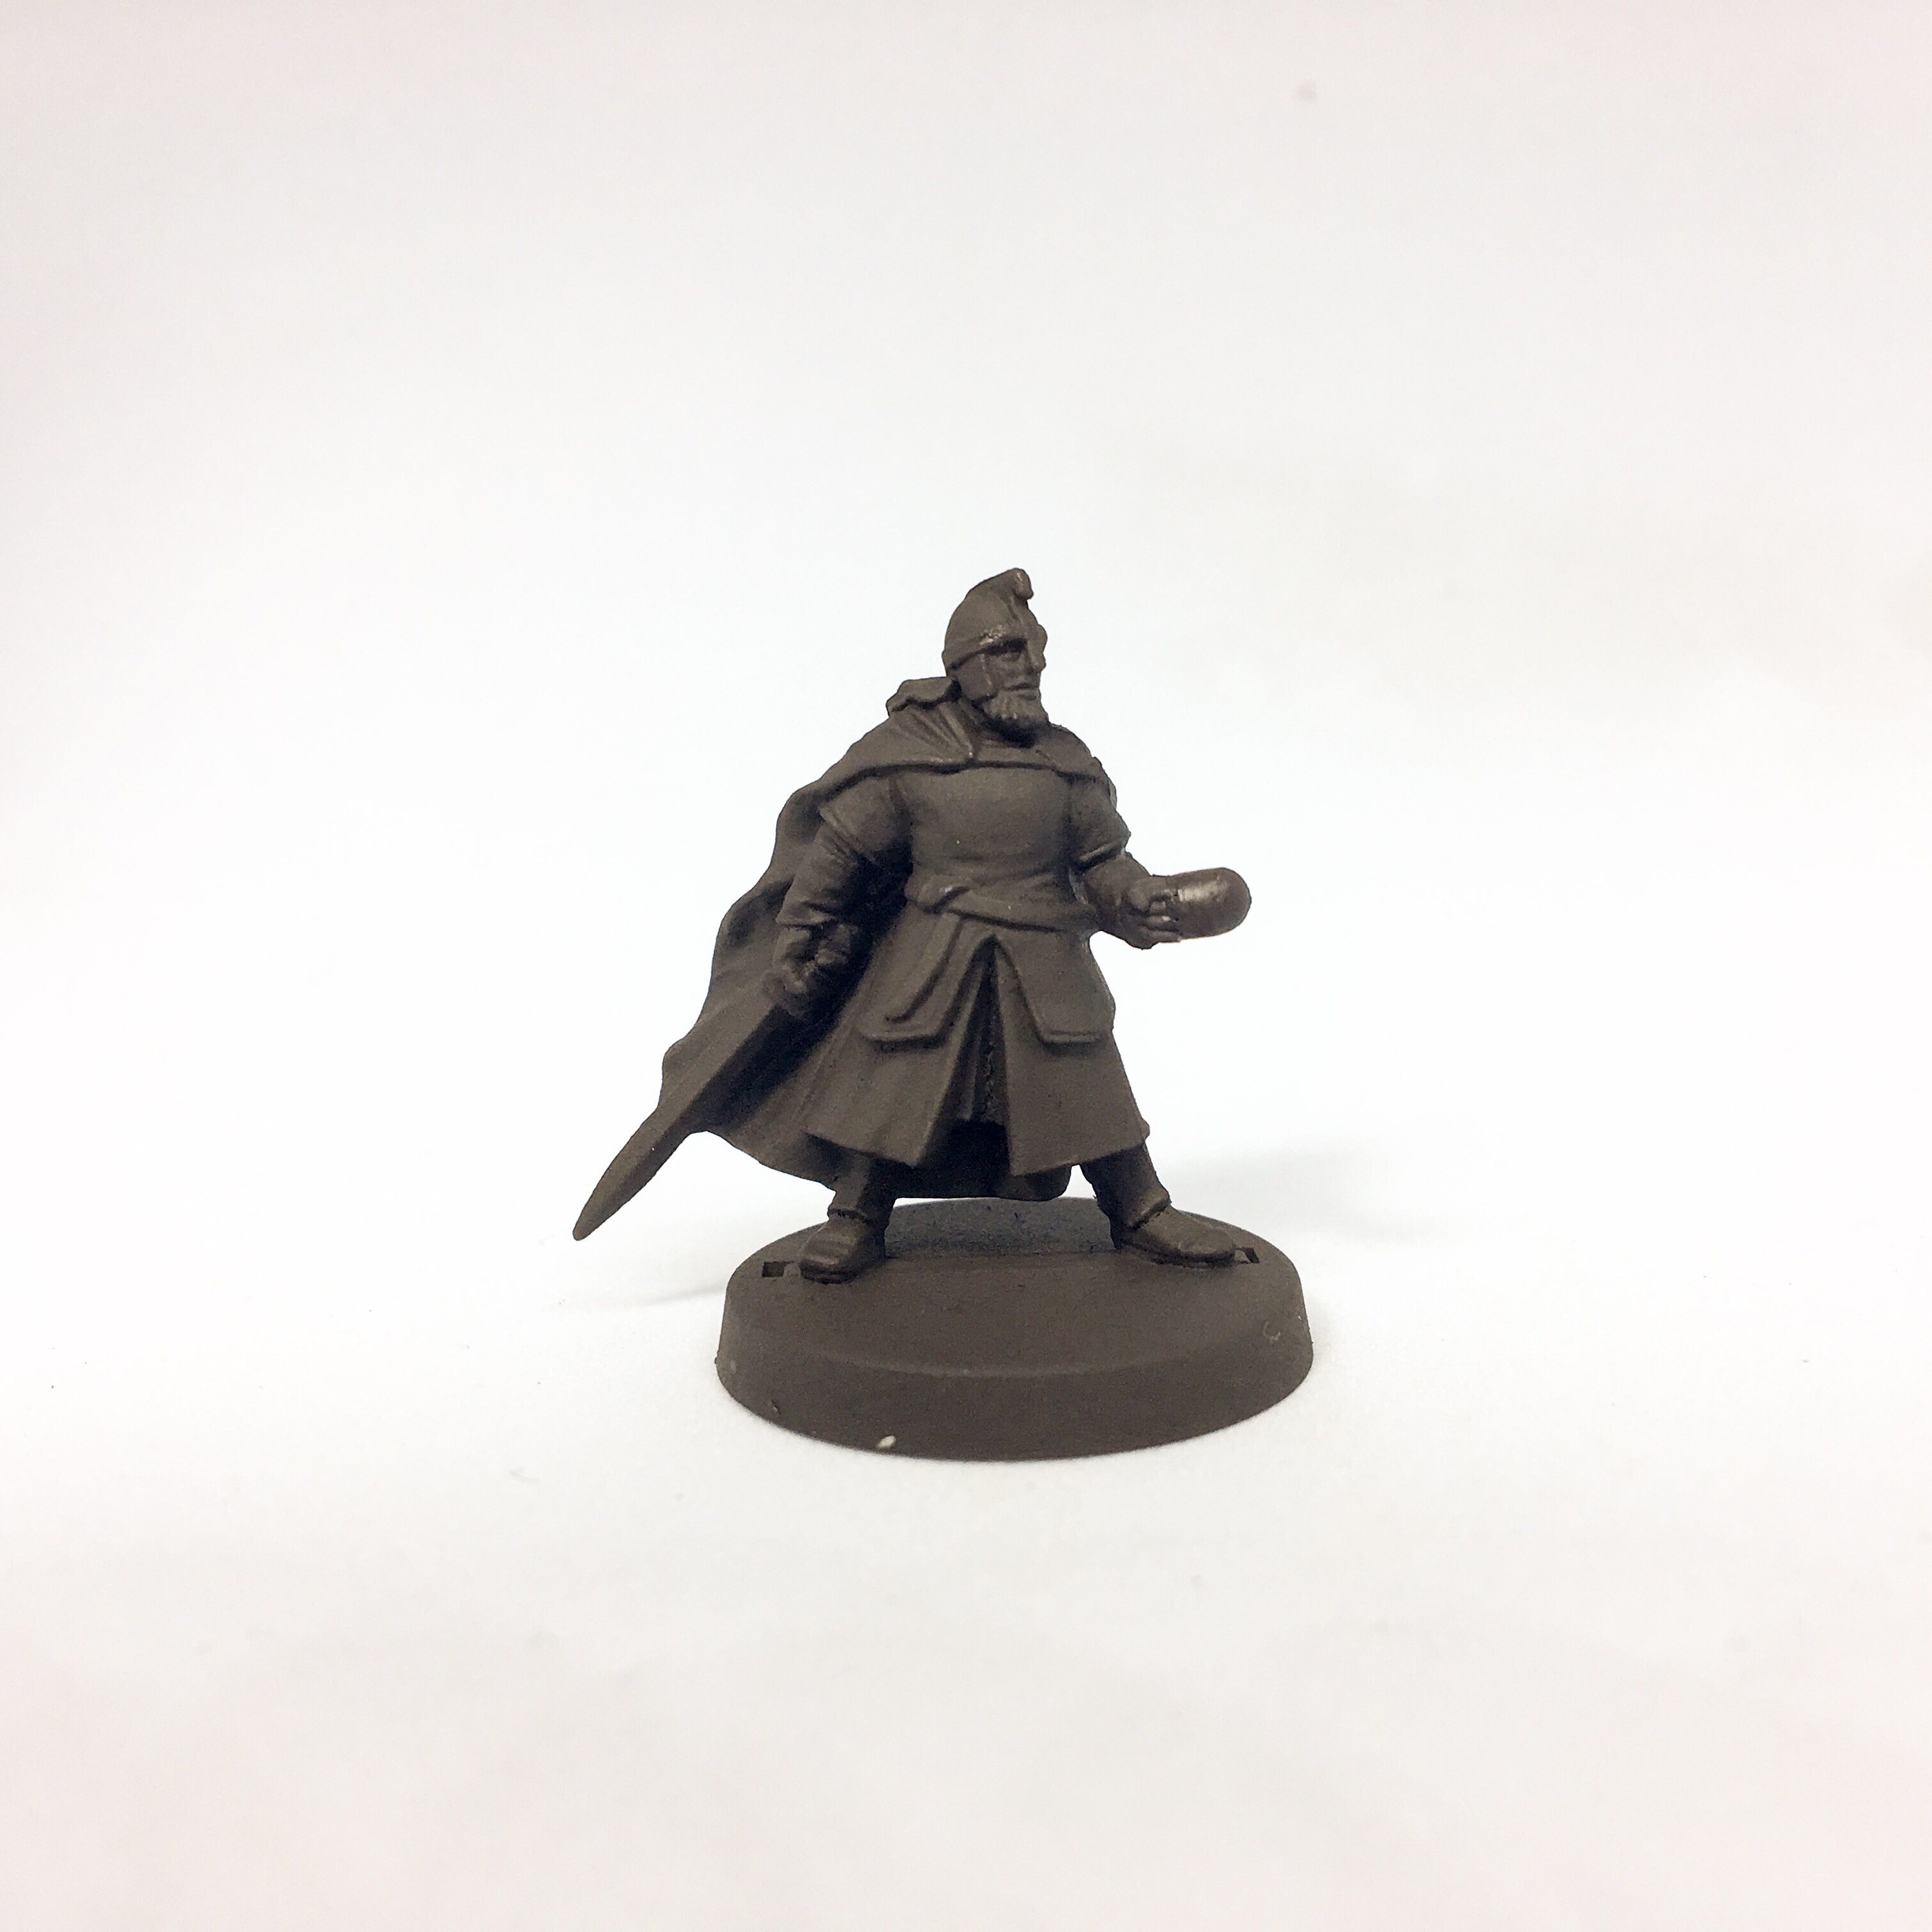
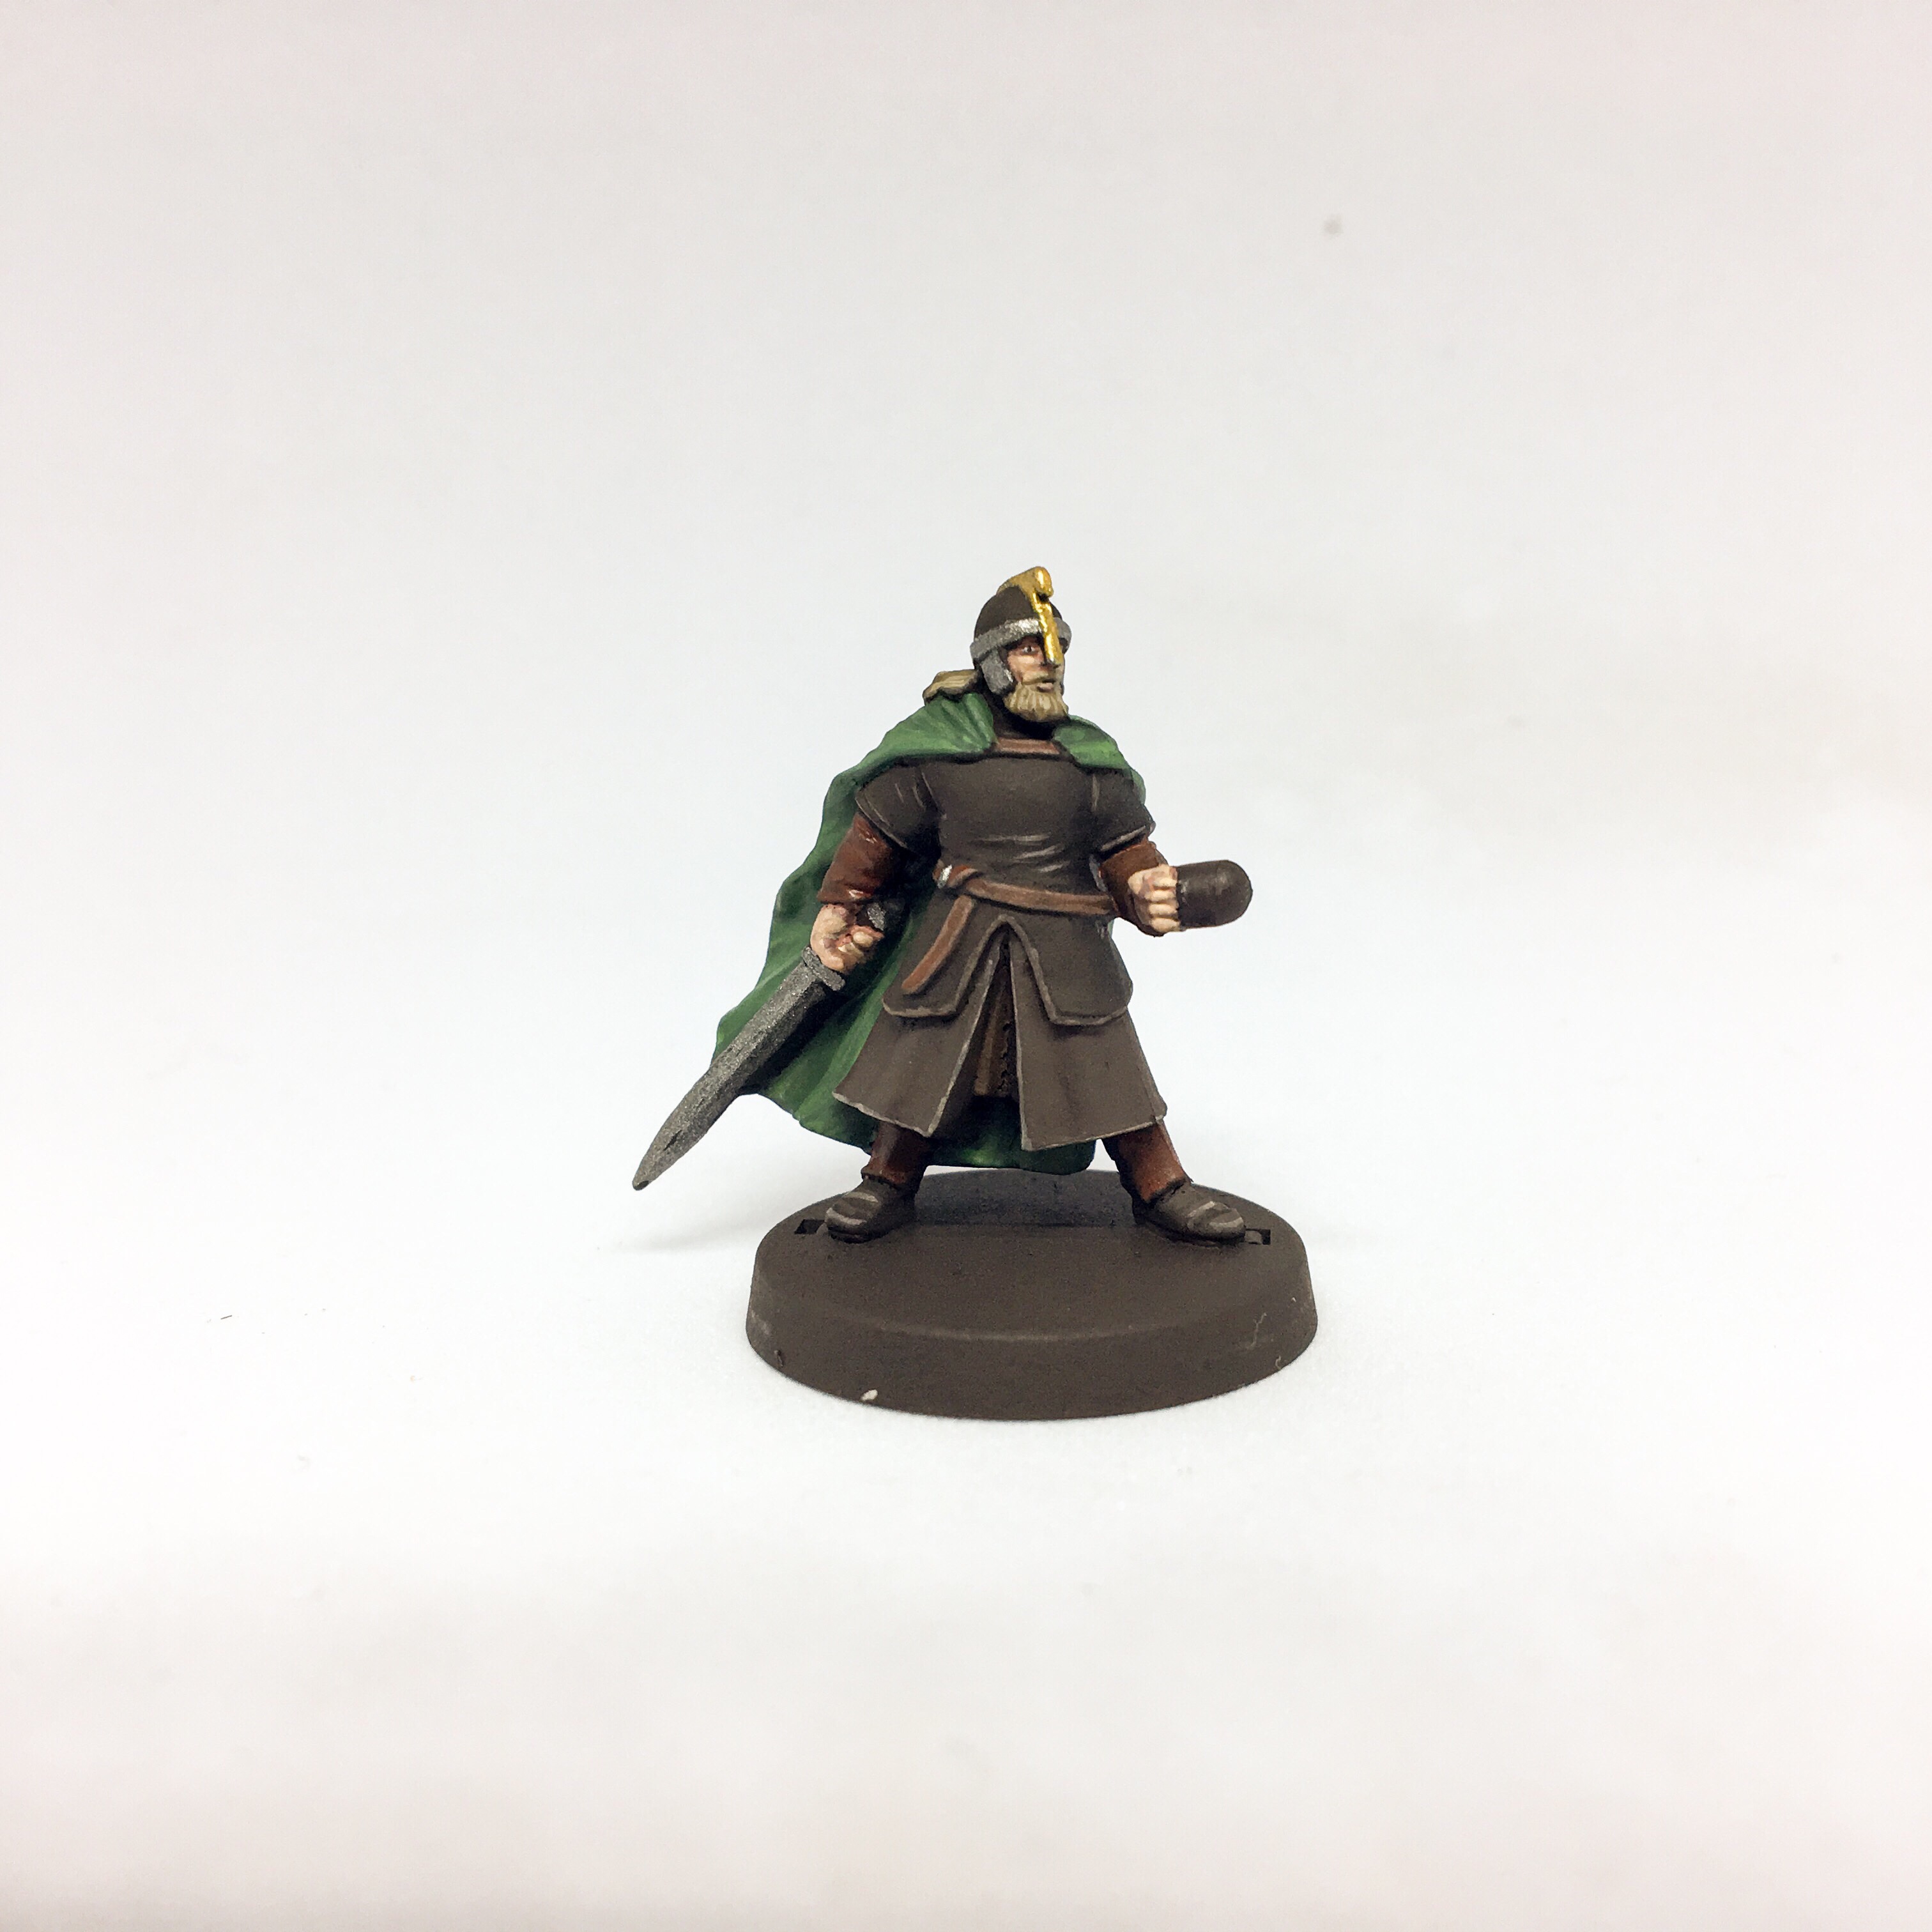
- Spray prime your model with brown spray.
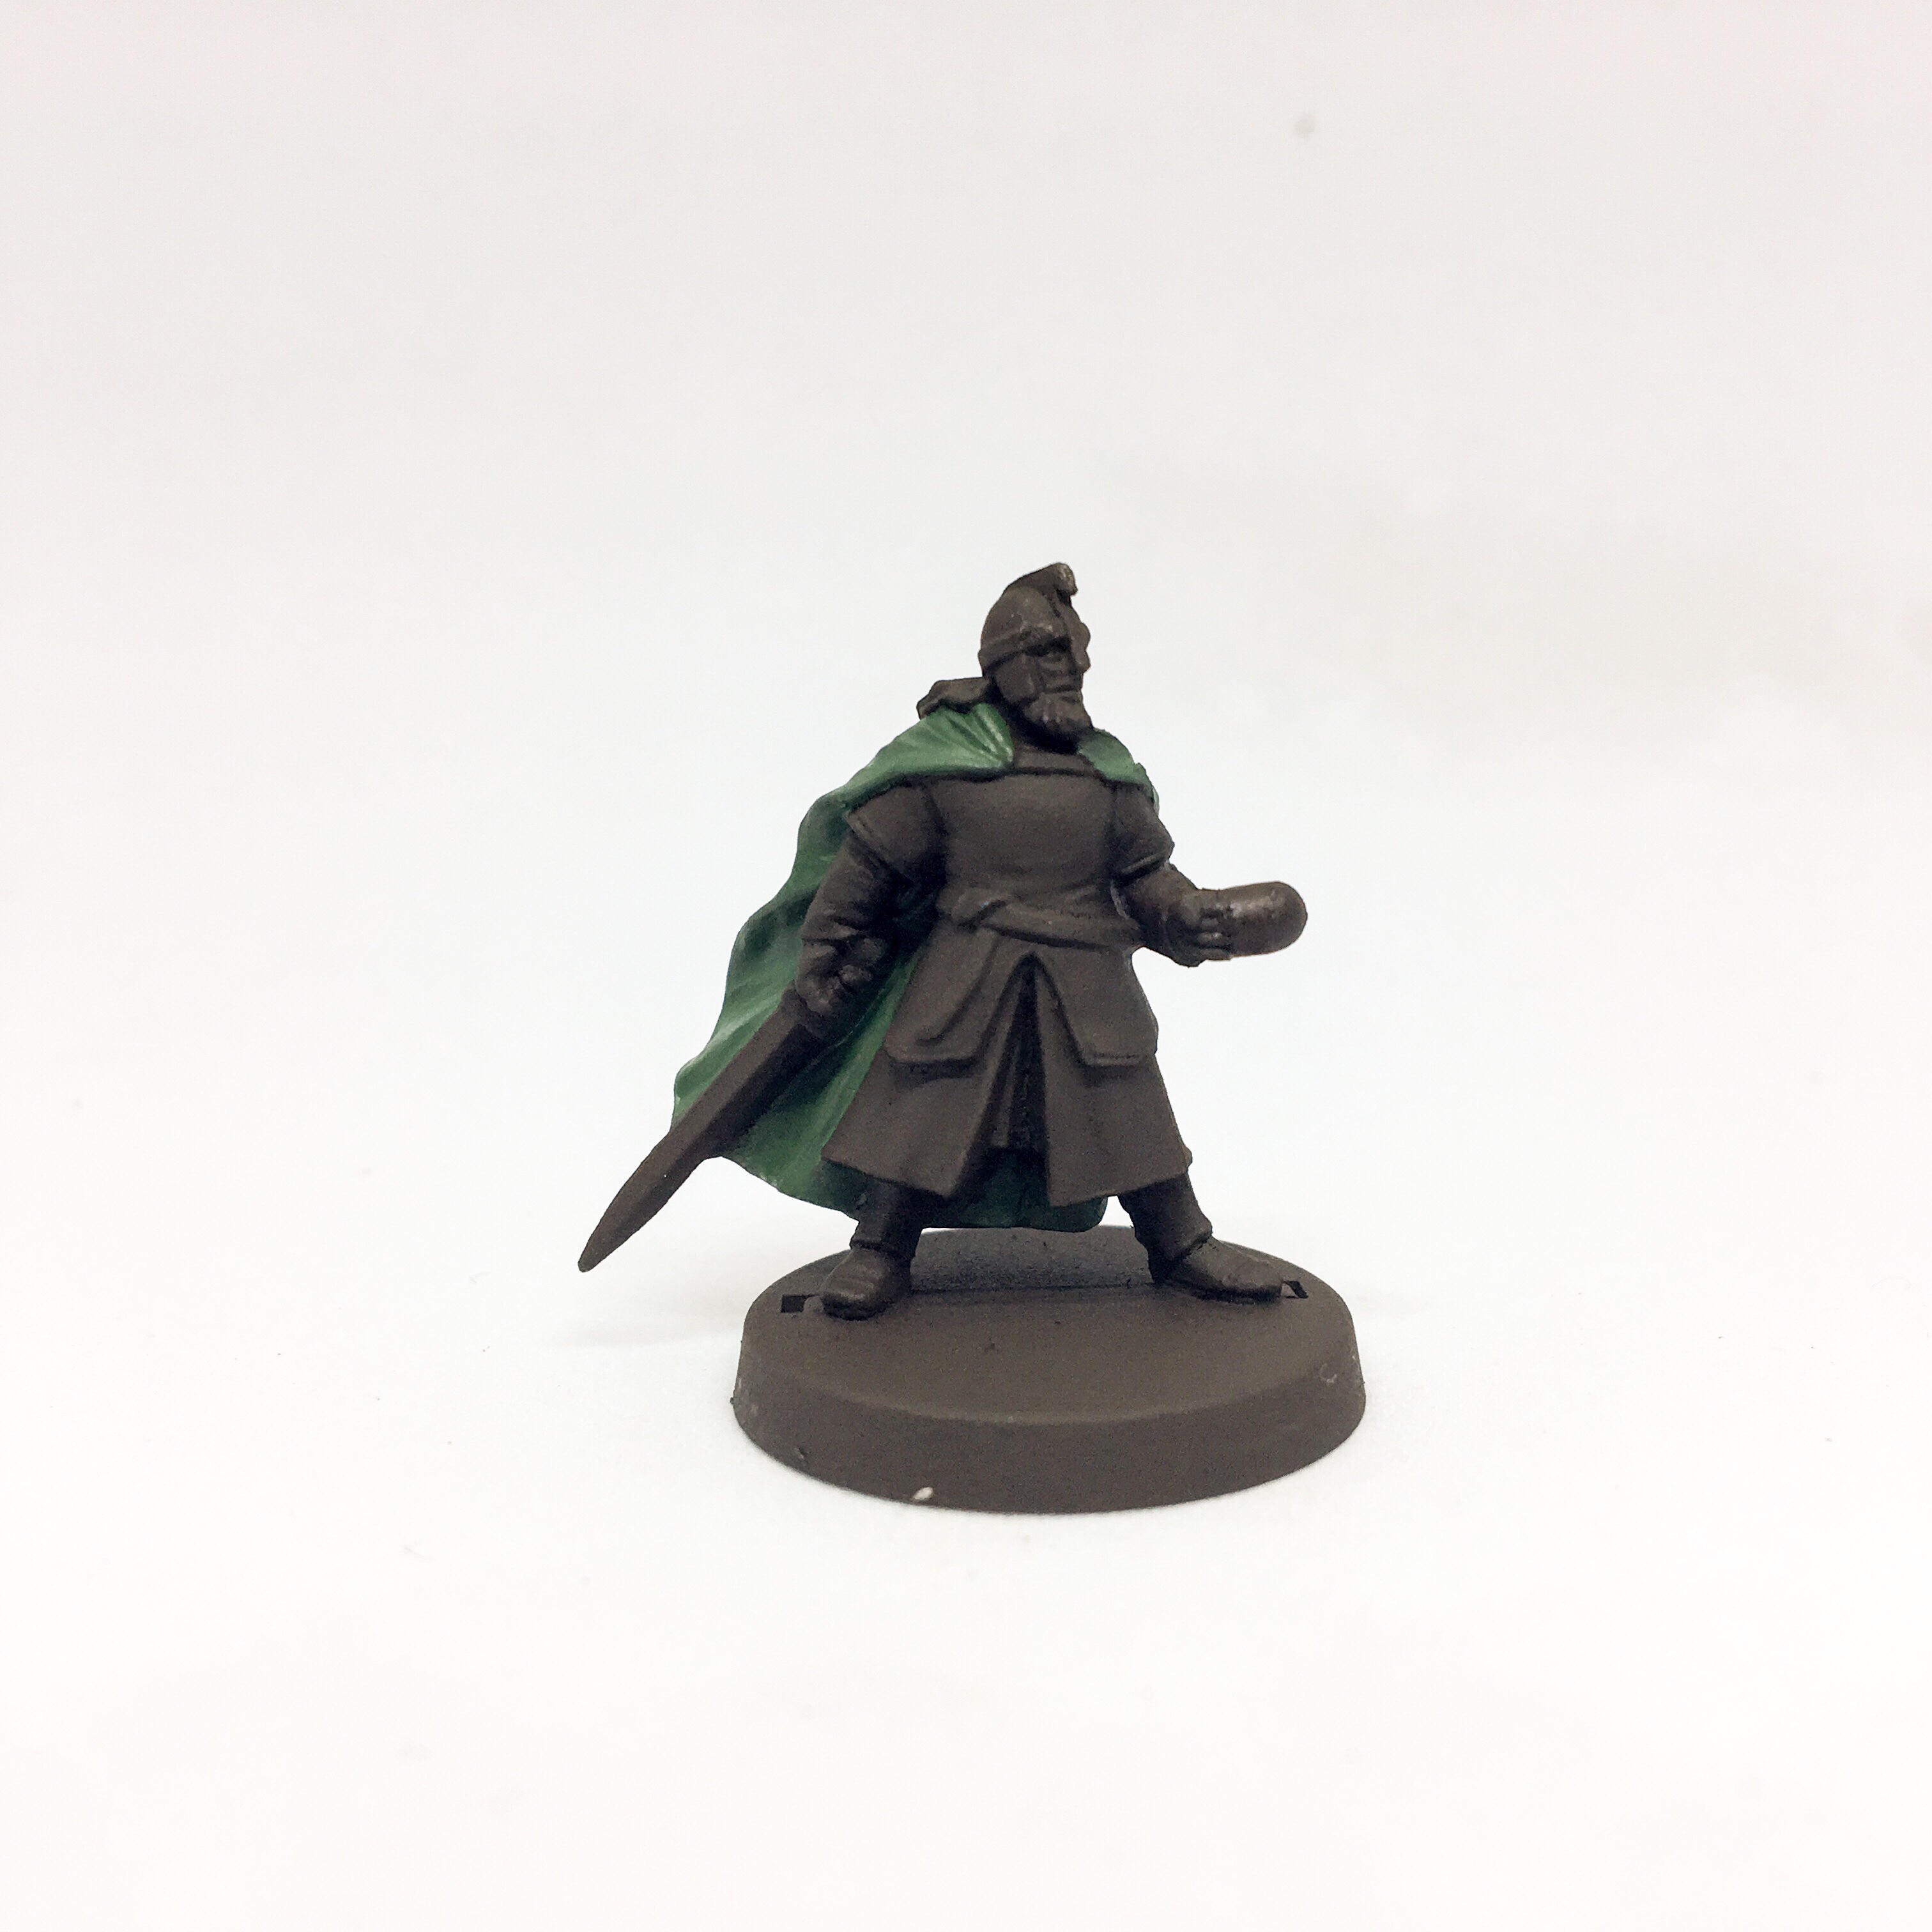
- Paint the cloak with Waaagh! Flesh.
- Paint the lower cloth with Dryad Bark.

- Paint the sleeves and leather straps with Doombull Brown.
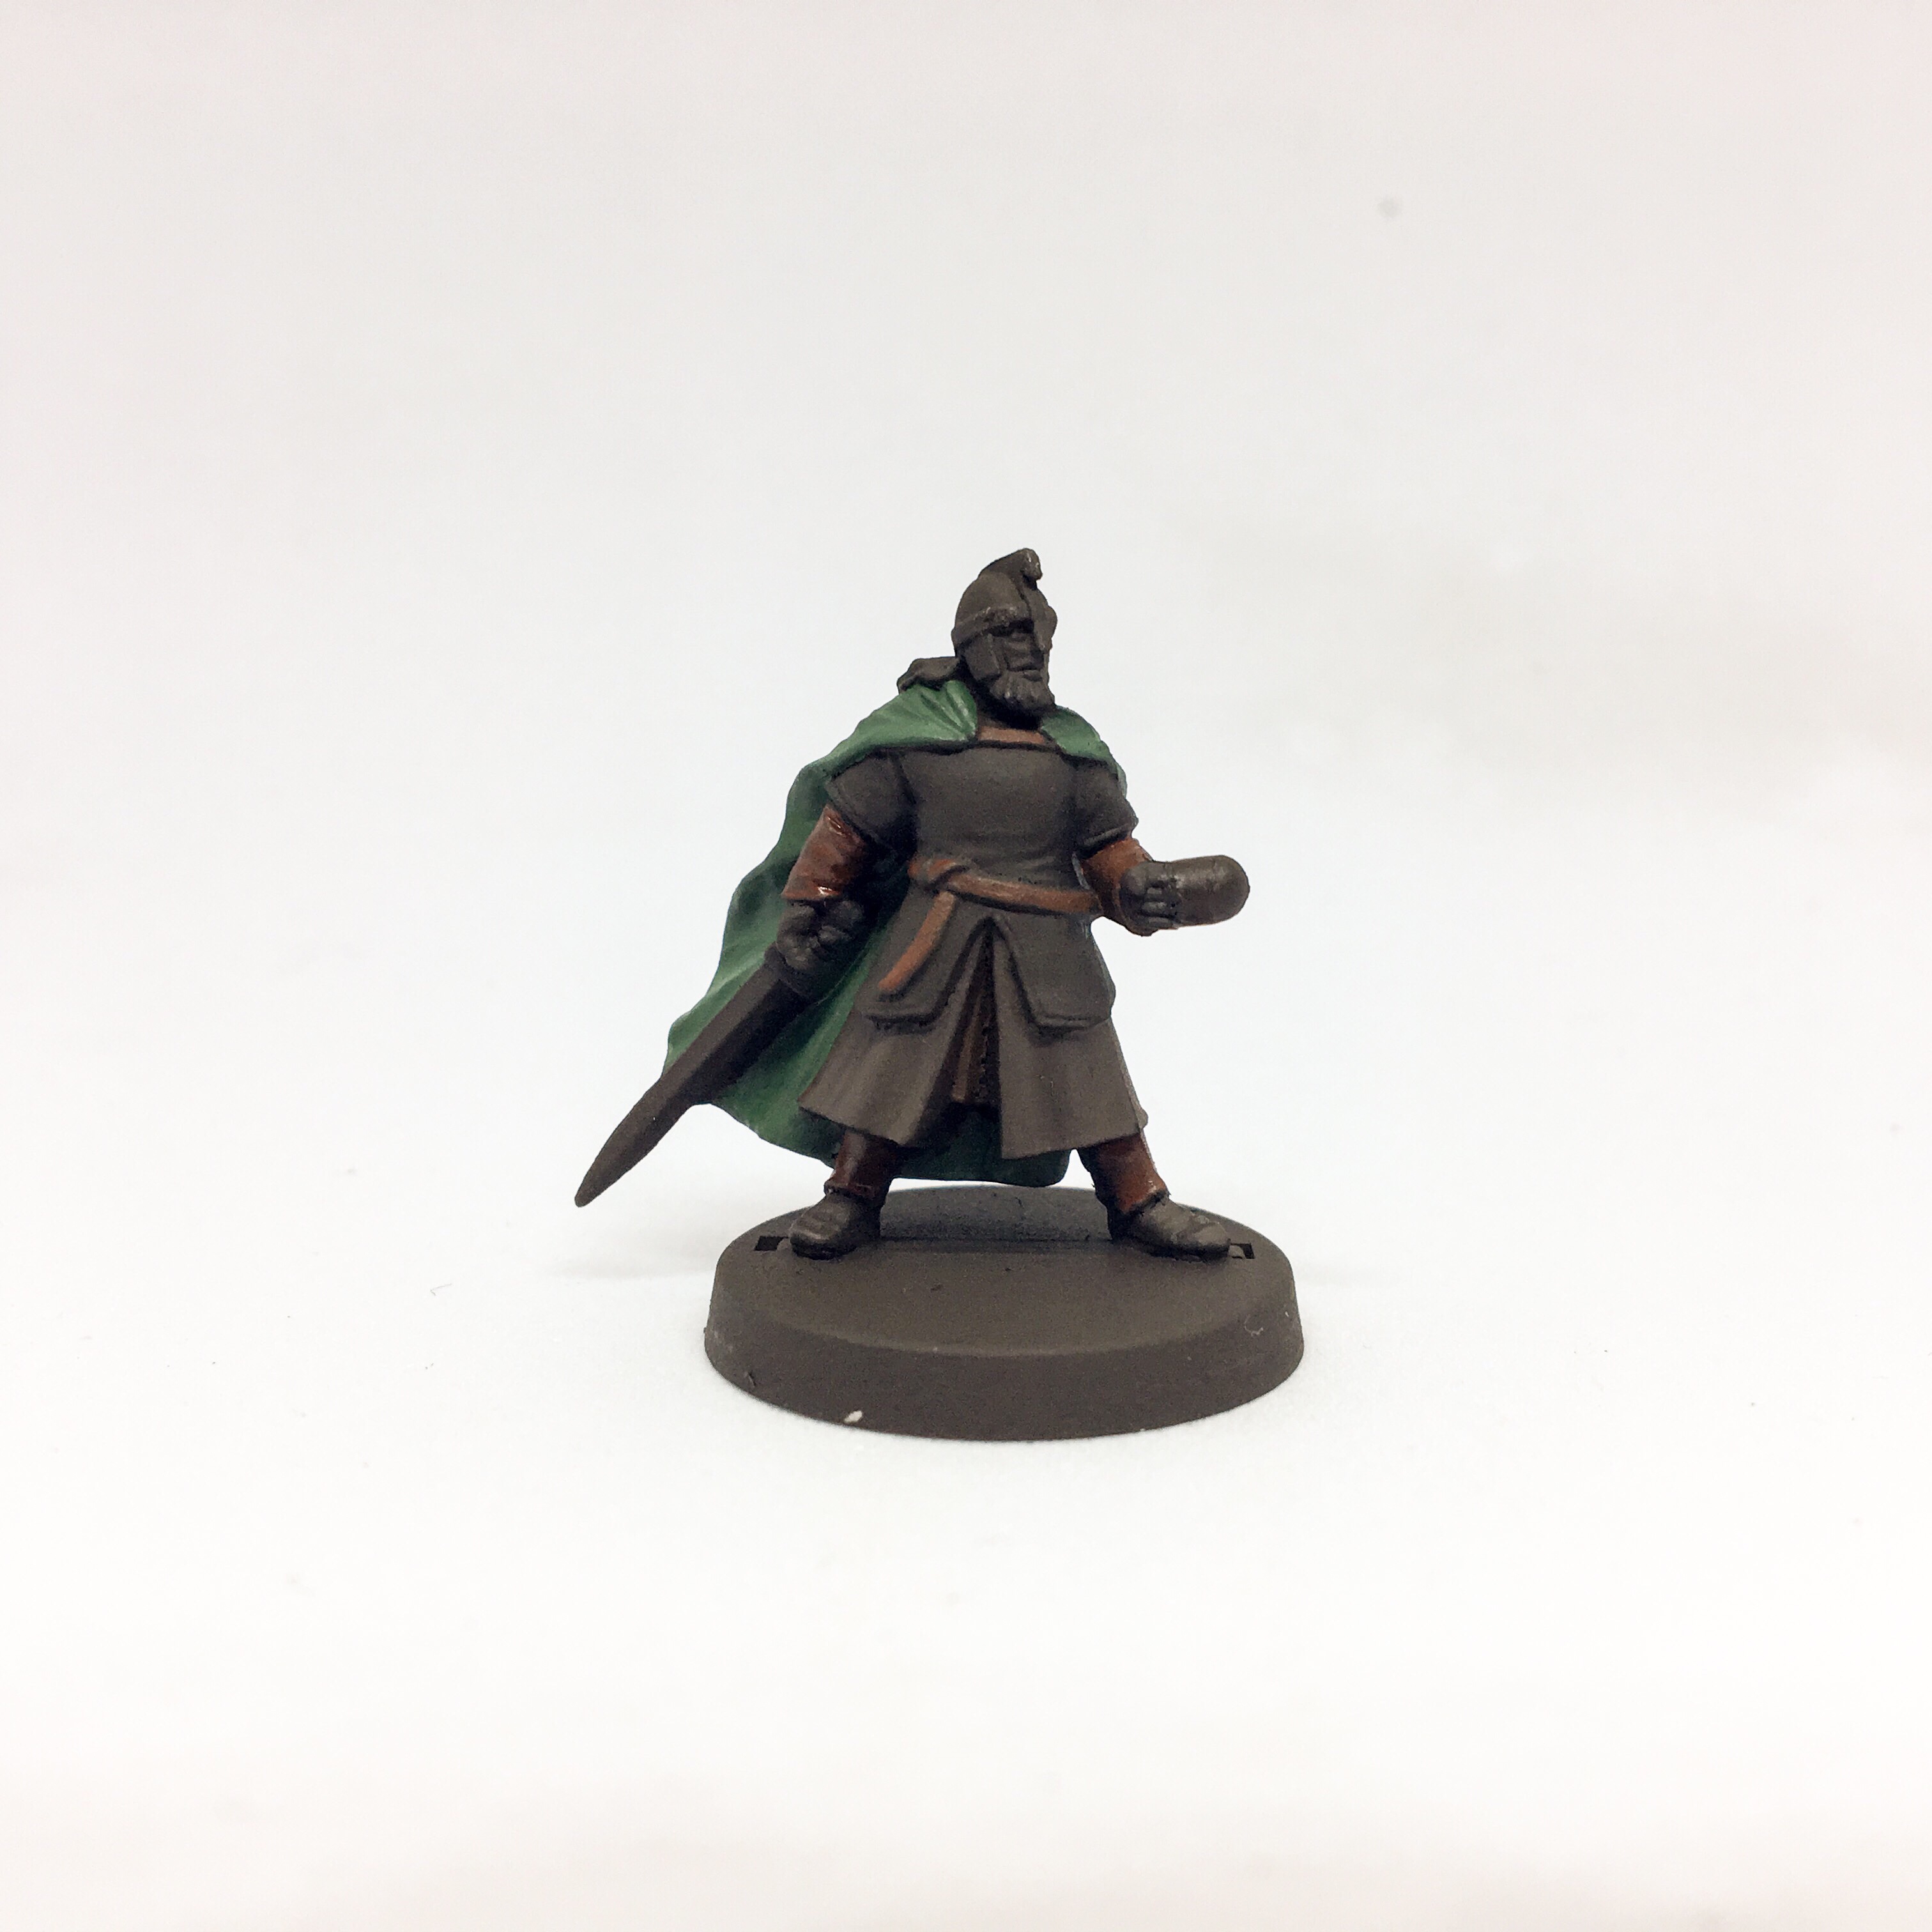
- Paint the hands and face with Bugman’s Glow. Eyes are done with Pallid Wych Flesh, then a tiny vertical line of Abaddon Black for the pupil. Tidy up with Bugman’s glow (or redo if needed) before moving on.
Highlight flesh with Cadian Fleshtone, then Kislev Flesh moving progressively to the higher points.
- Paint the hair and beard with Steel Legion Drab.
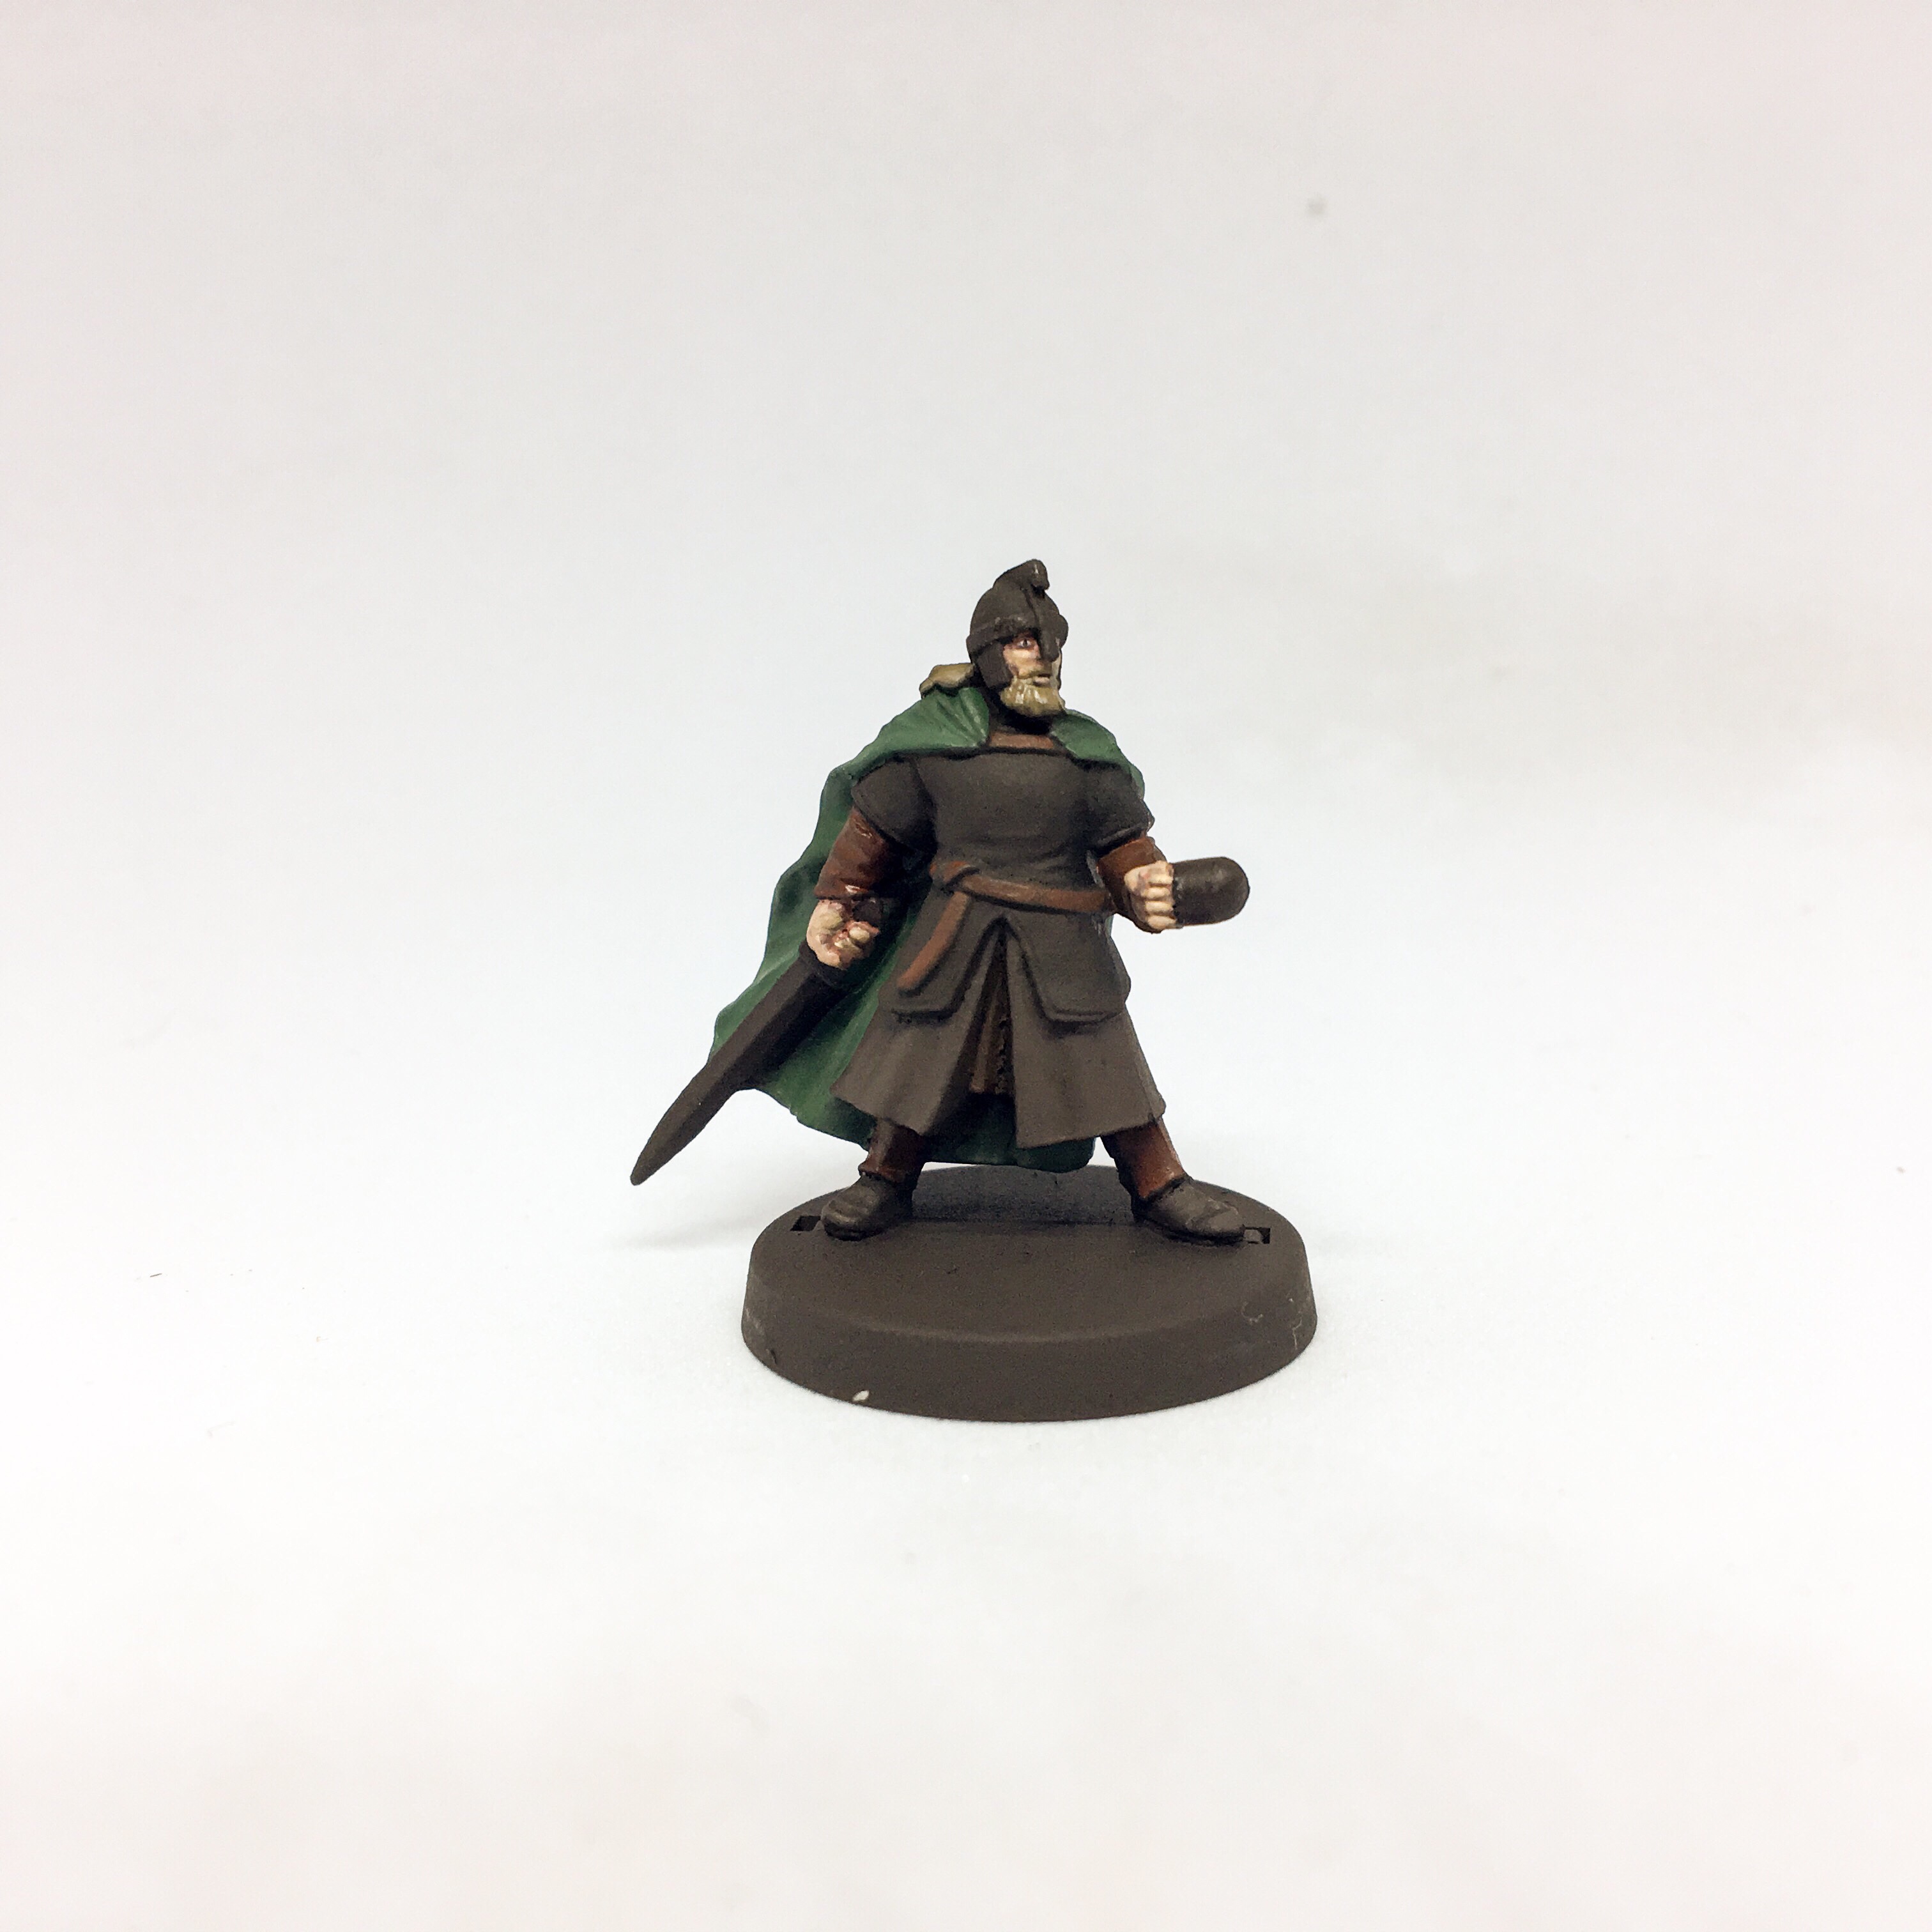
- Highlight the hair and beard with thin lines of Zandri Dust.
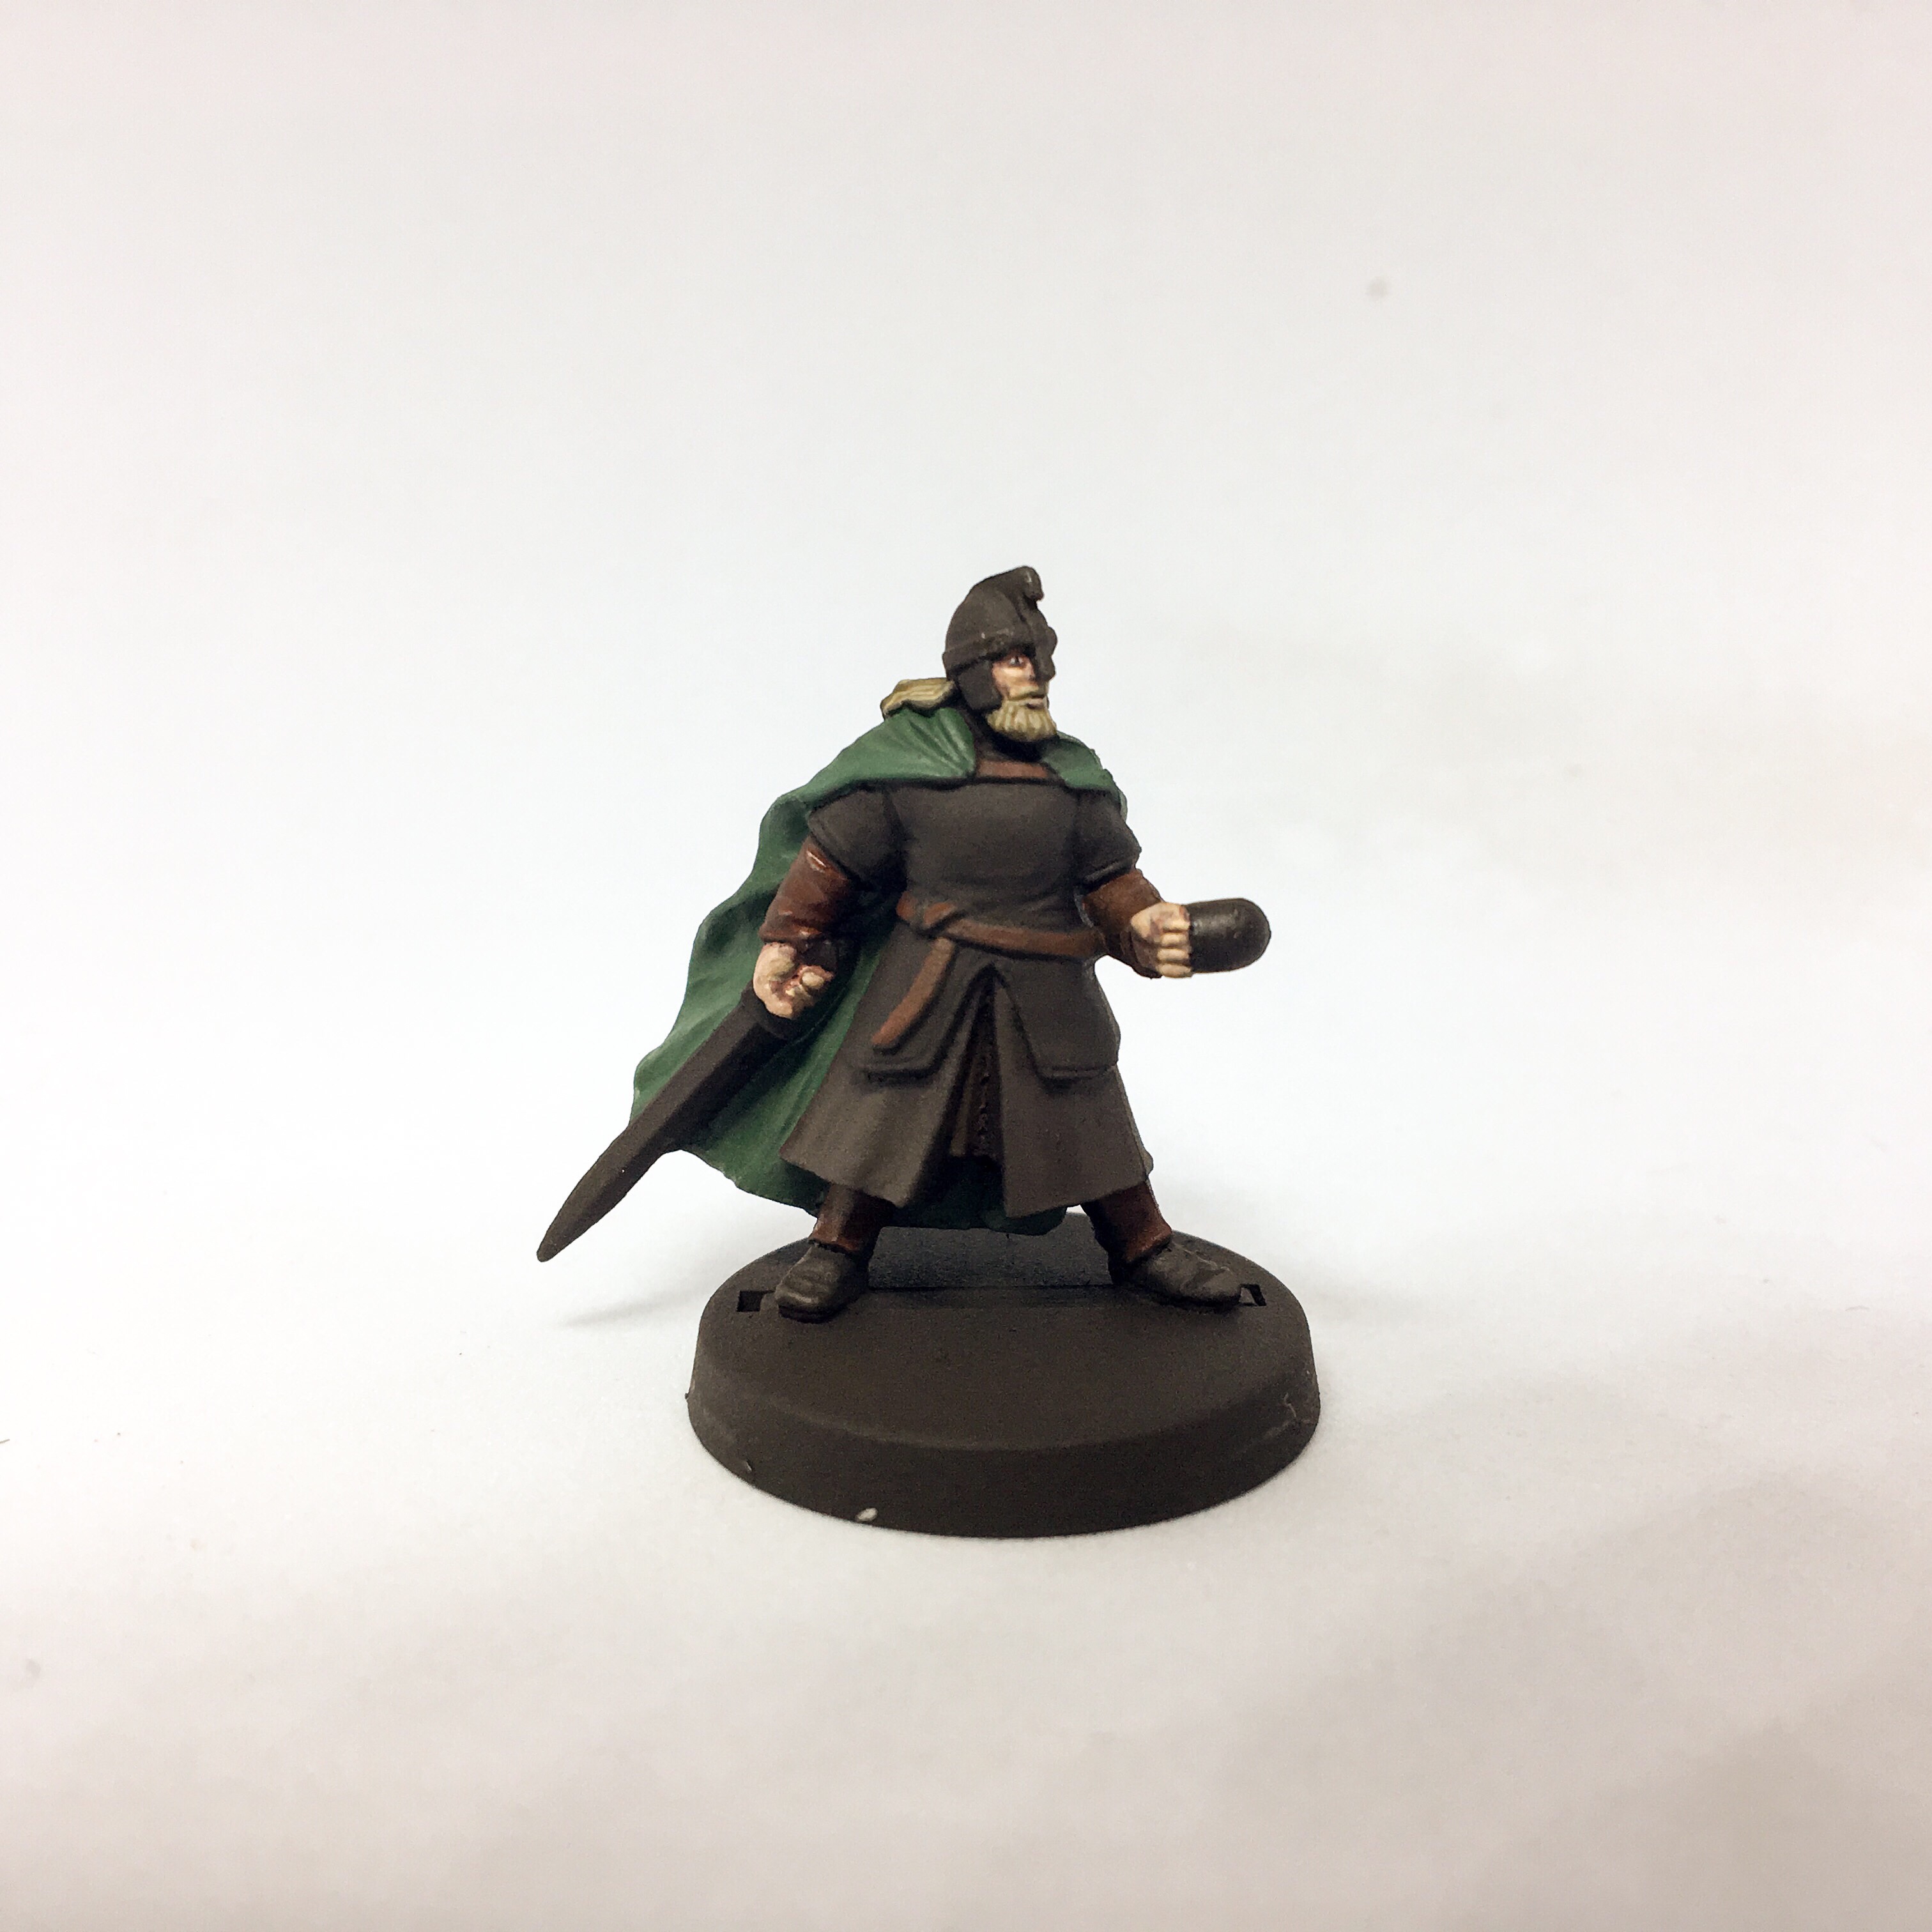
- Paint the silver sections with Leadbelcher; gold sections with Retributor Armour.
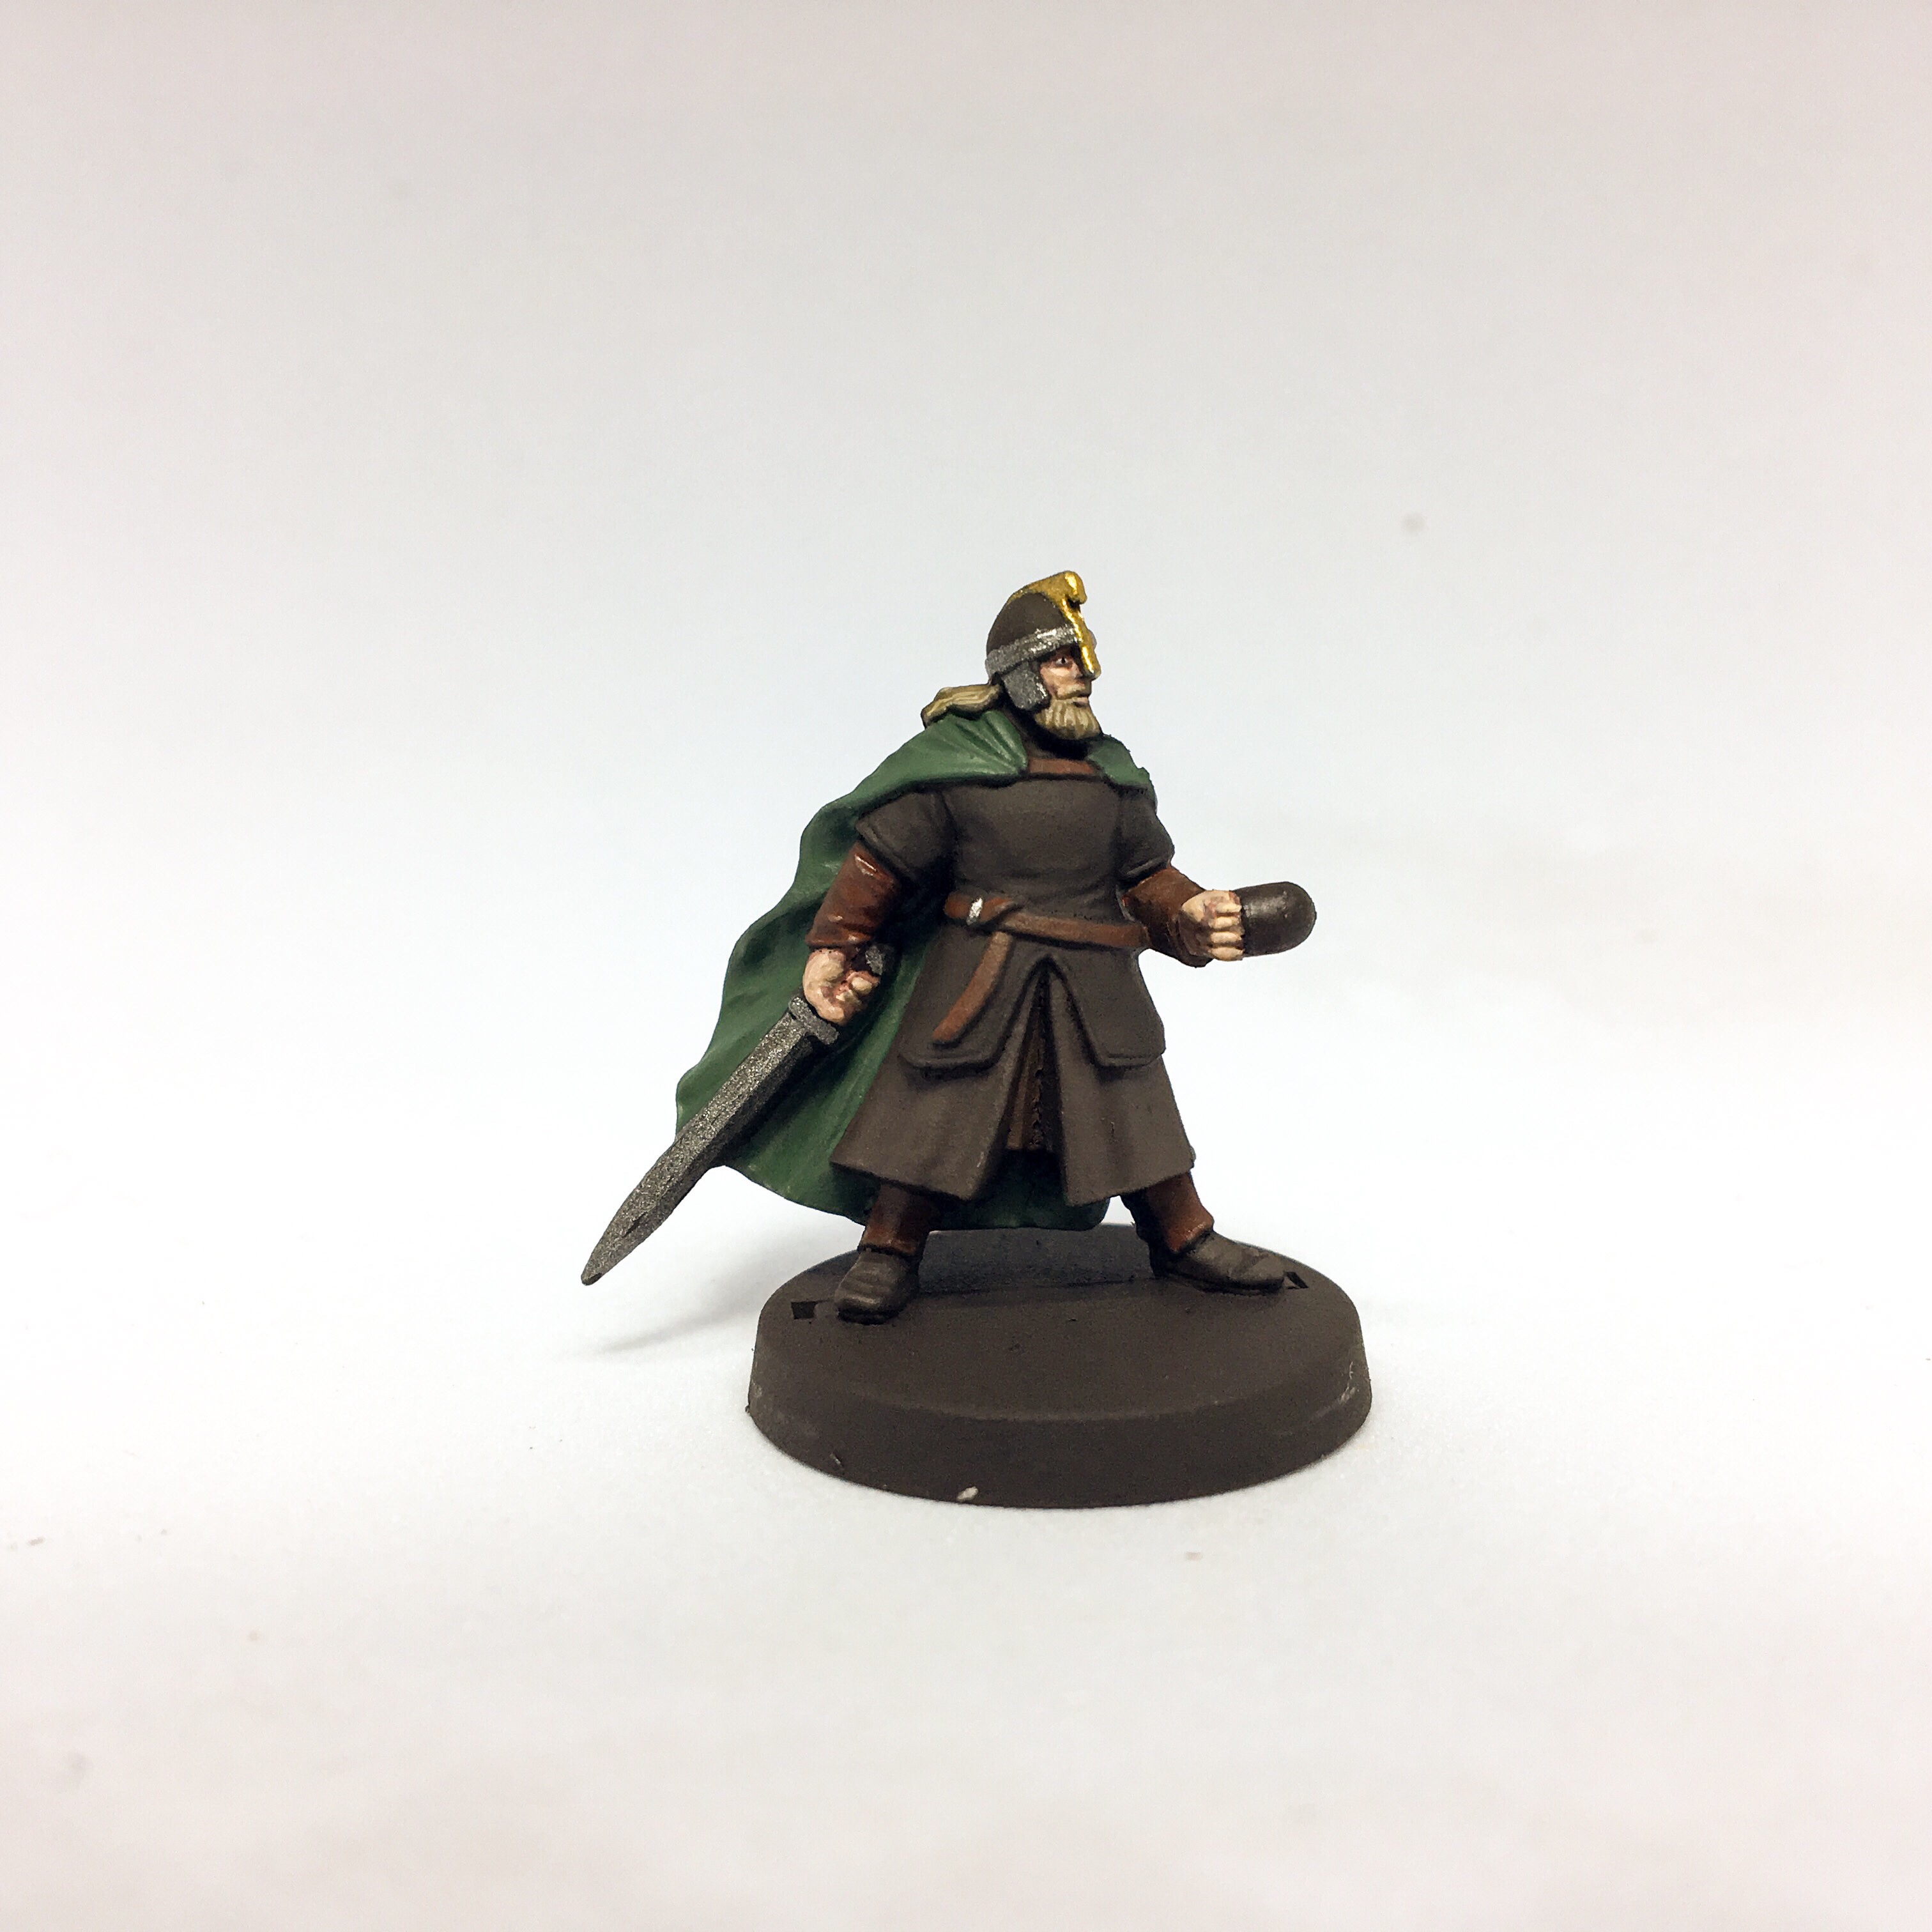
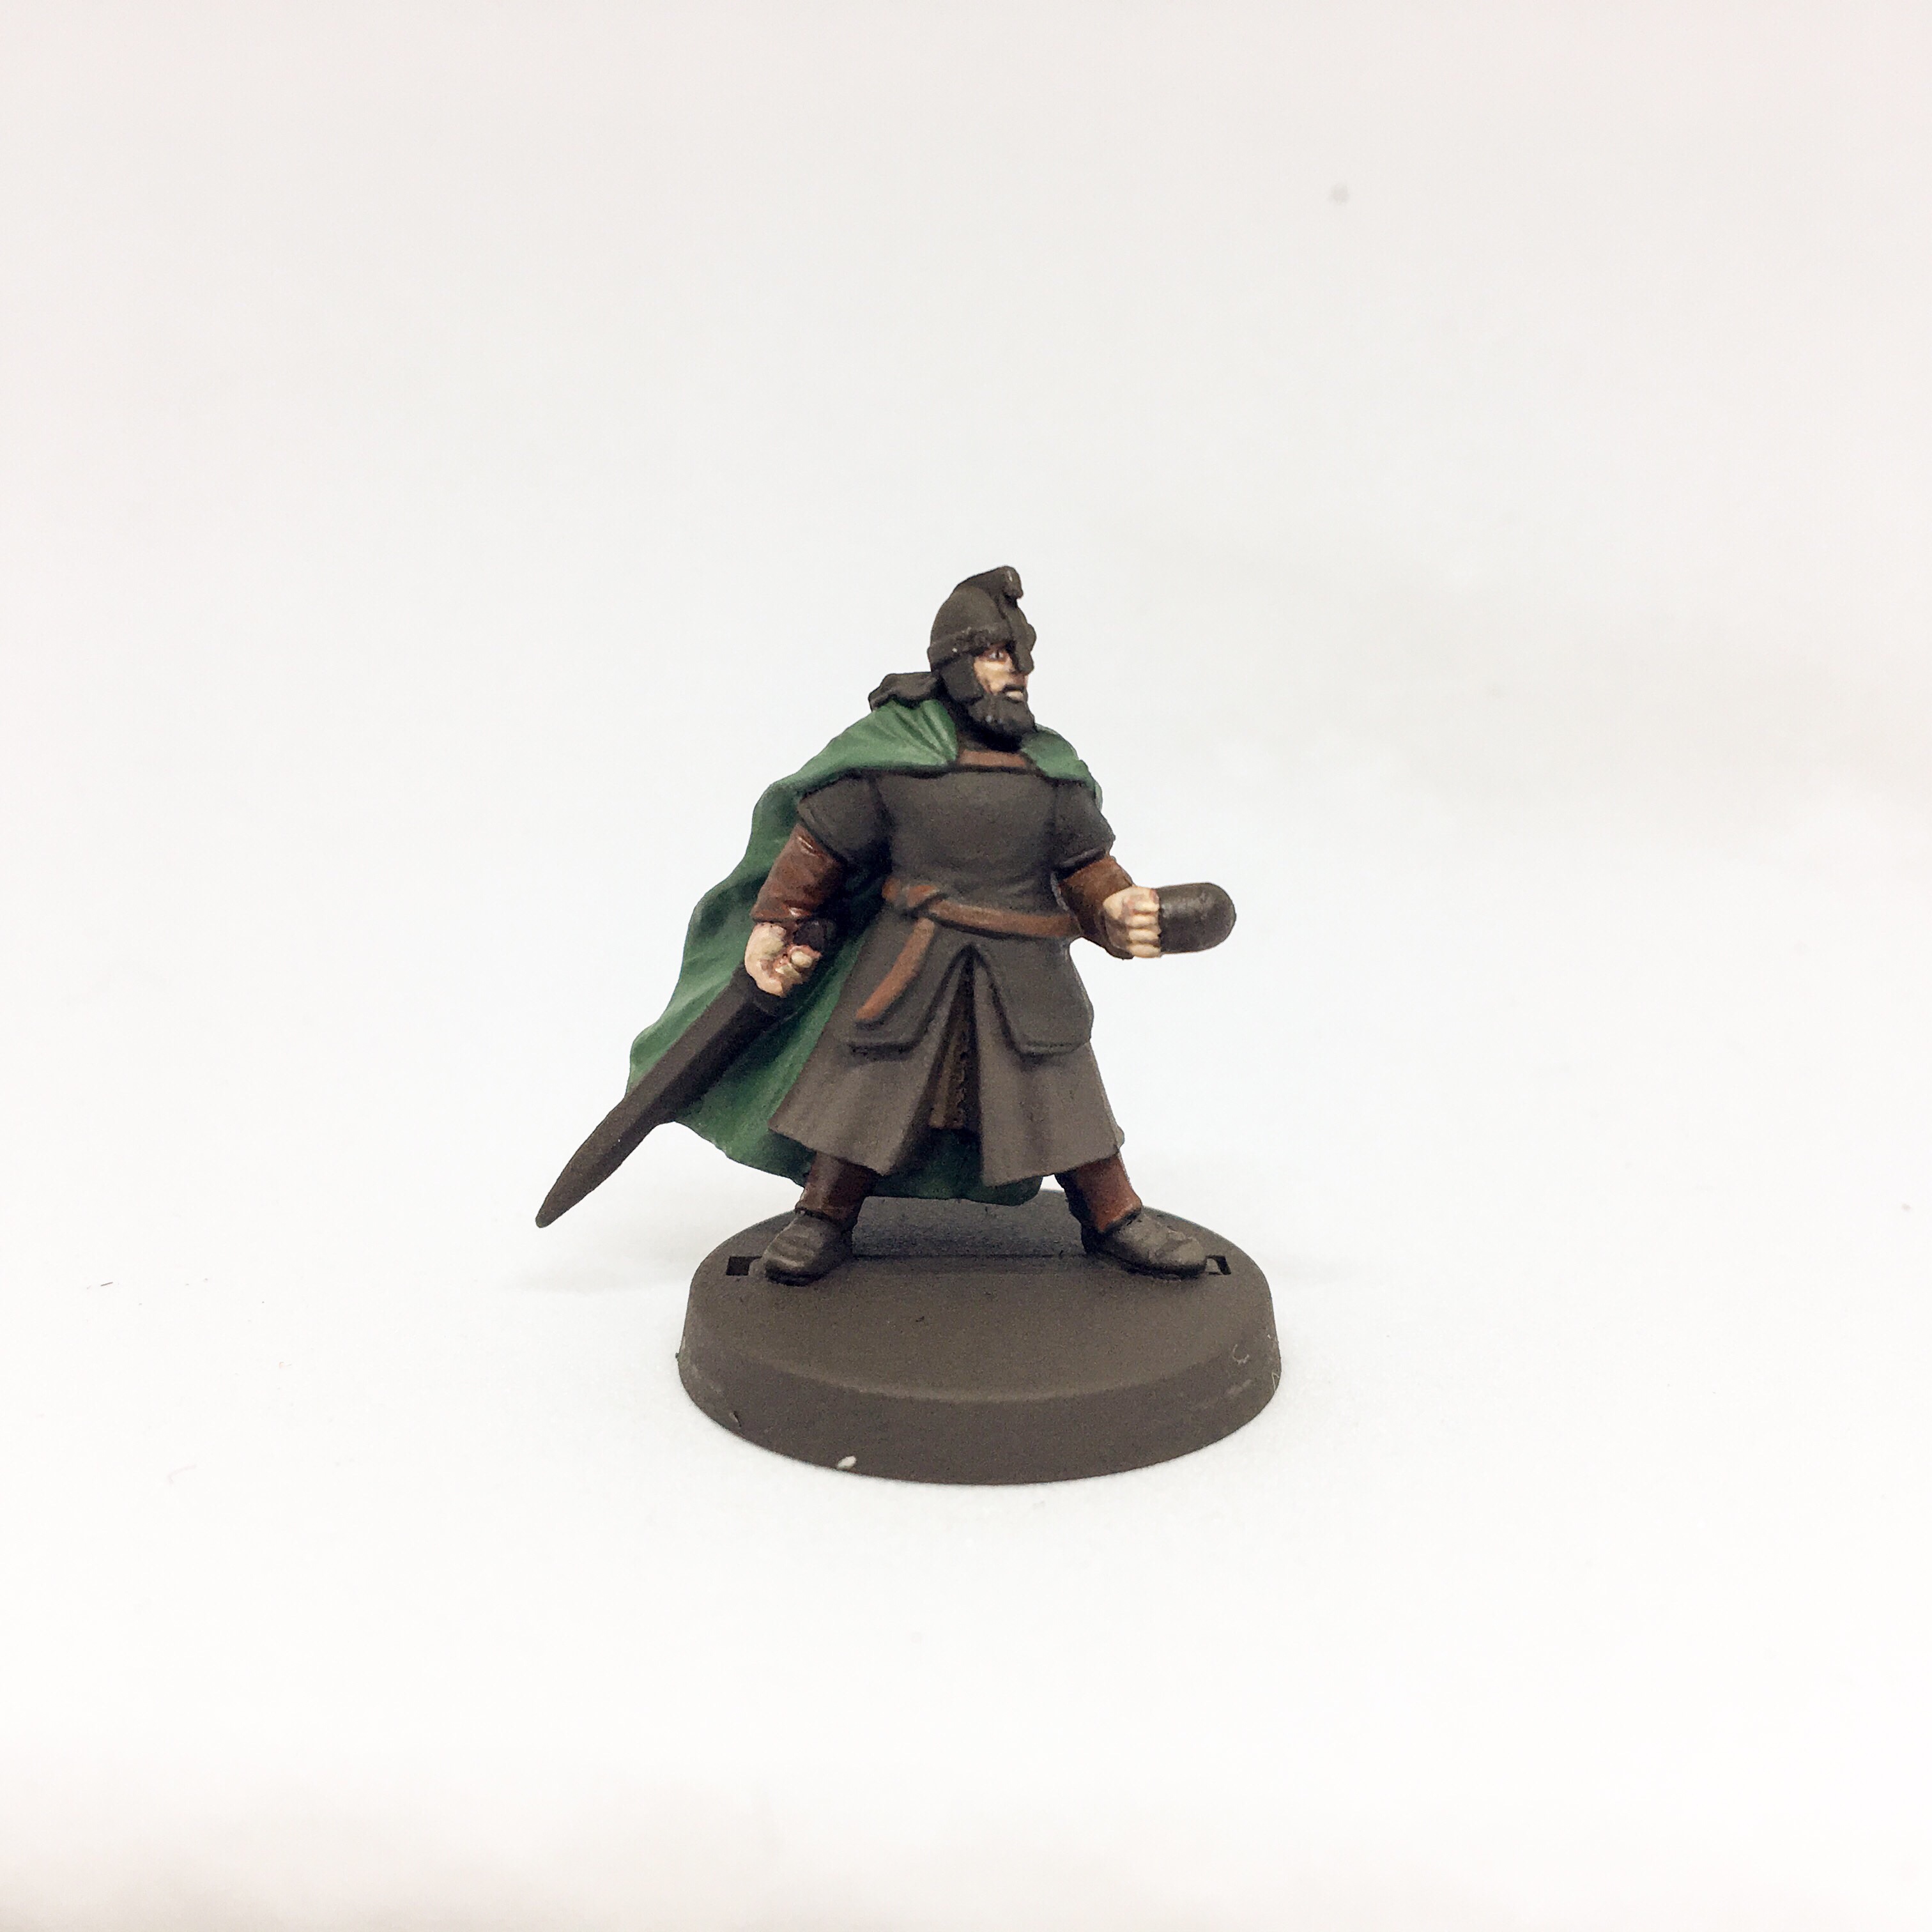
- Highlight the cloak with Warboss Green, aiming for the most raised areas – make your paint nice and thin for this step.
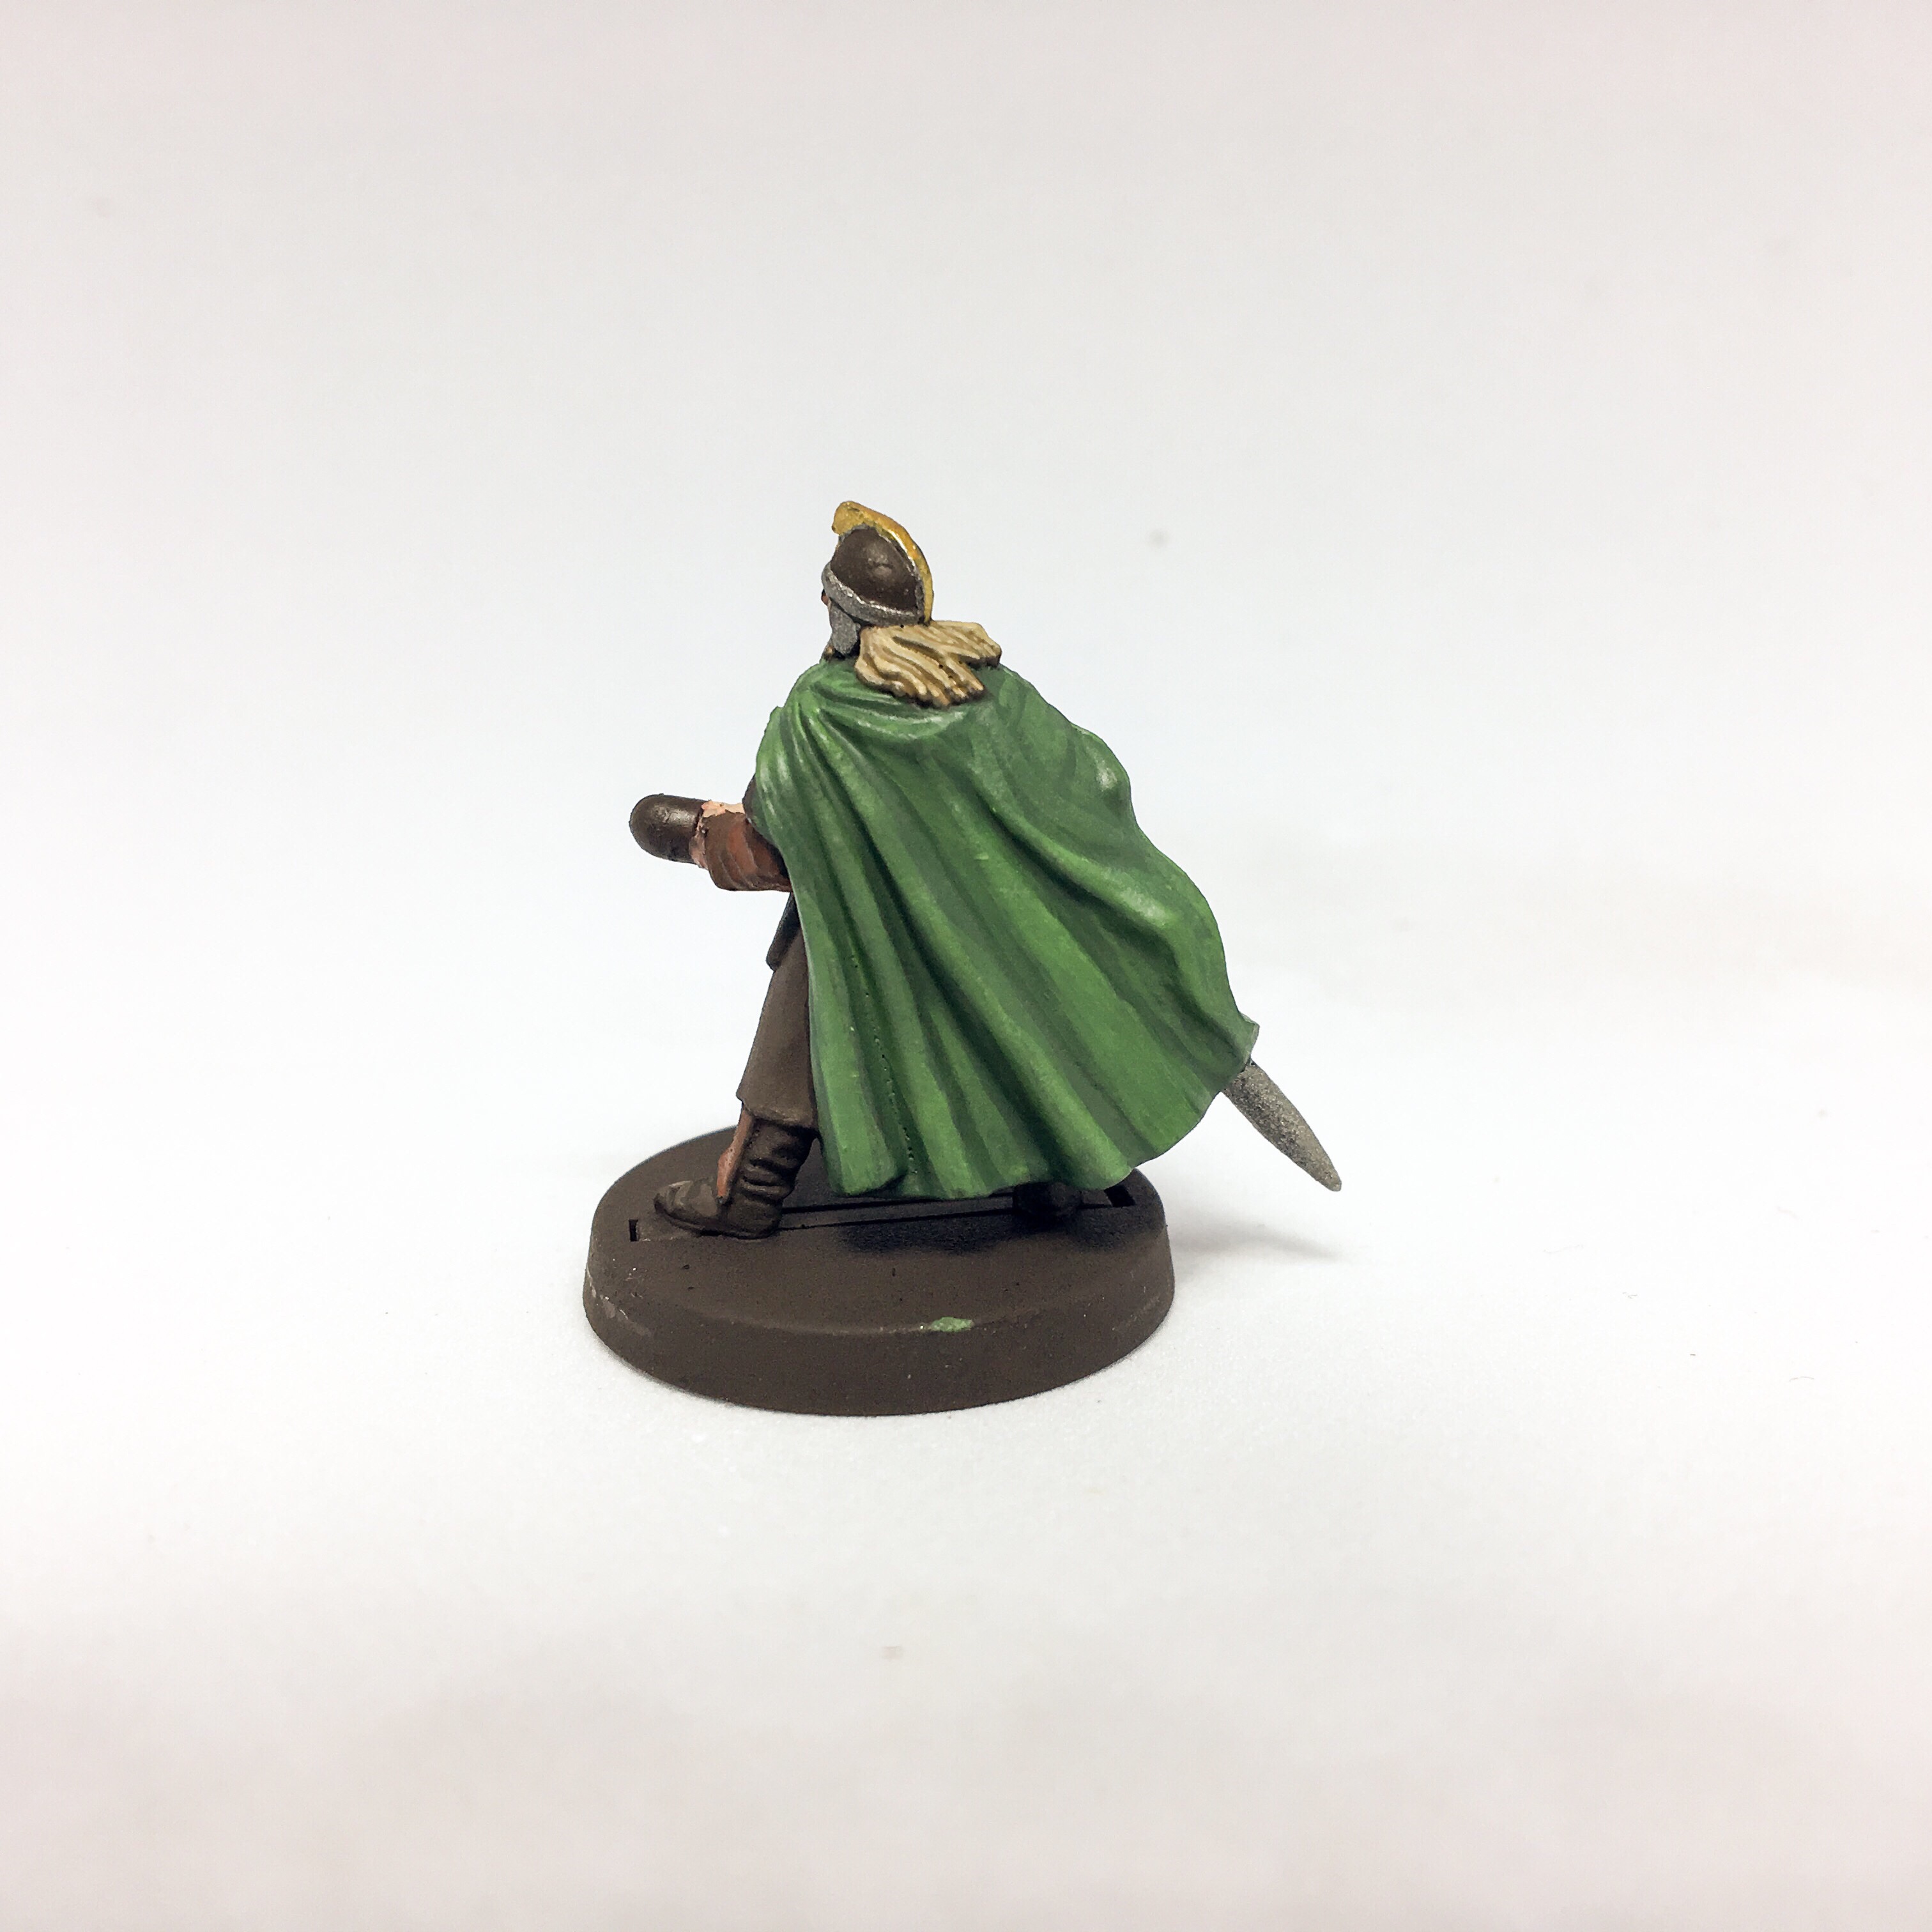
- I did some edge highlights on the brown sections with Gorthor Brown, then Baneblade brown to bring out some of the leather creases etc. The strapping was edged carefully with Gorthor Brown.
I also washed the sleeves and shin guards with Agrax Earthshade.
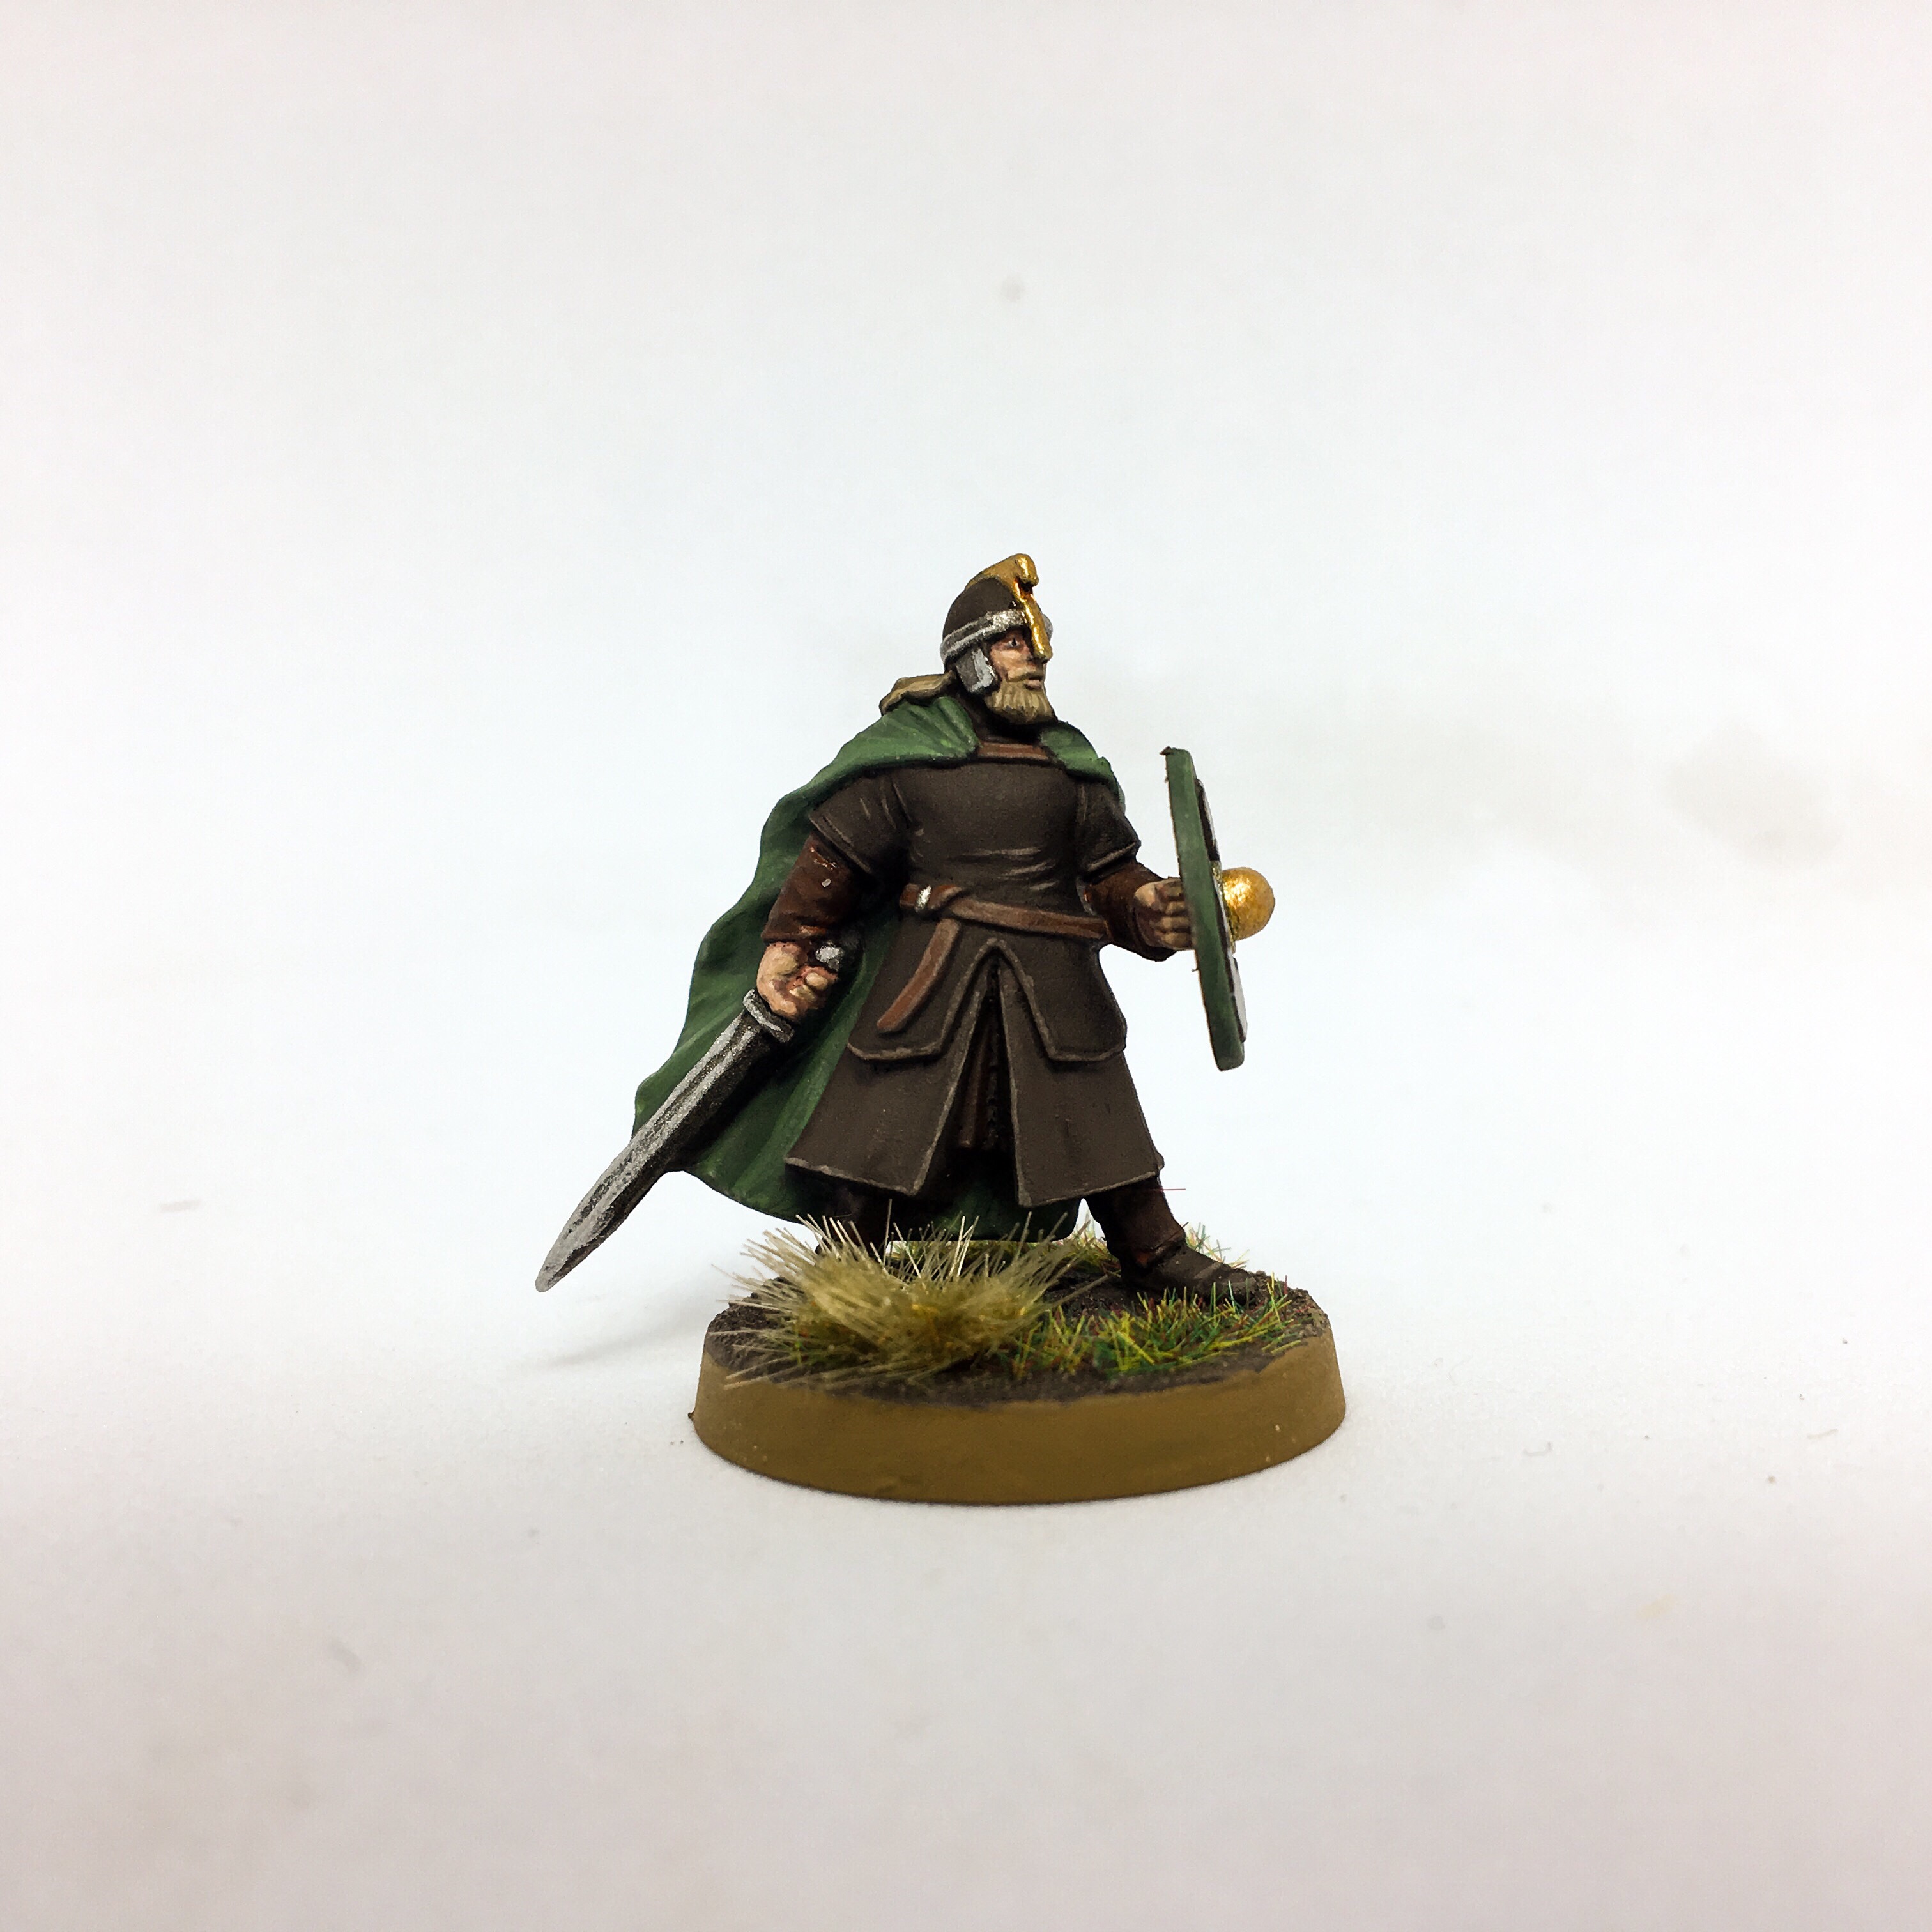
- At this point, I attached the shield, painted with Waaagh! Flesh and edged with Warboss Green. The horse motif was painted Baneblade Brown, then Pallid Wych Flesh. The centre of the shield was painted with Retributor Armour.
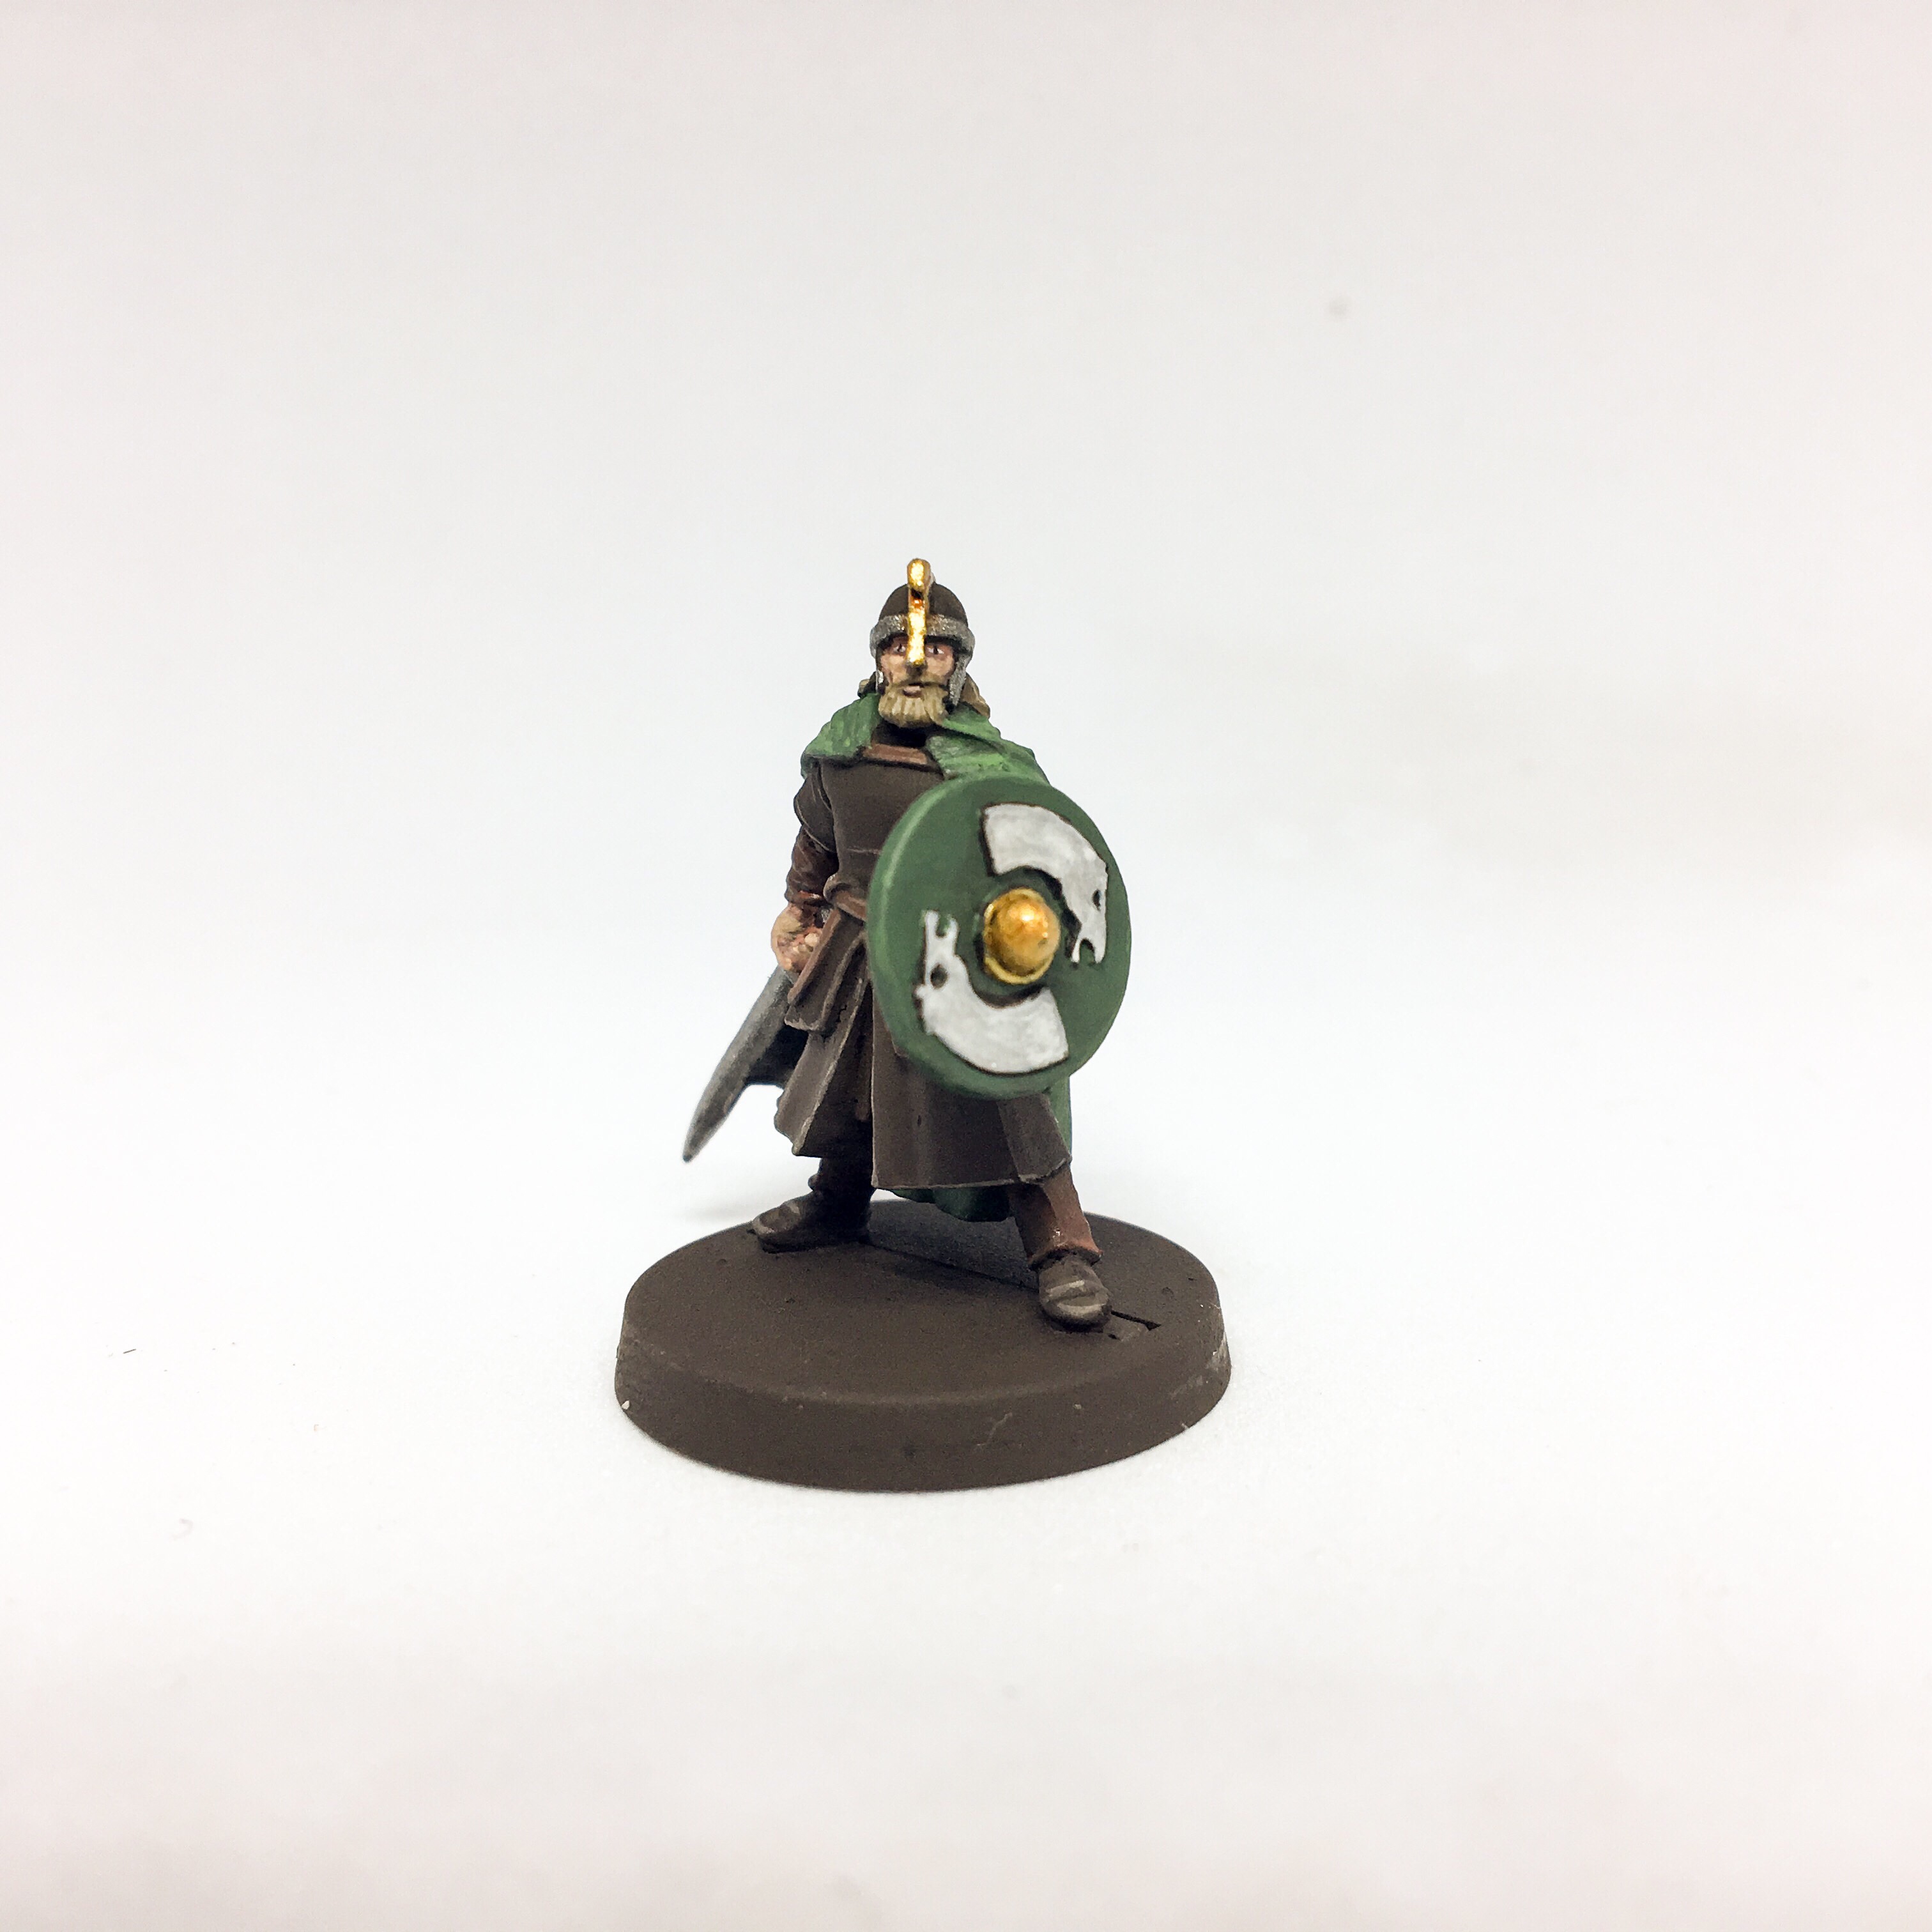
- Silvers were washed with Nuln Oil Gloss, golds with Reikland Fleshshade Gloss. Highlights with Stormhost Silver and Liberator Gold respectively.
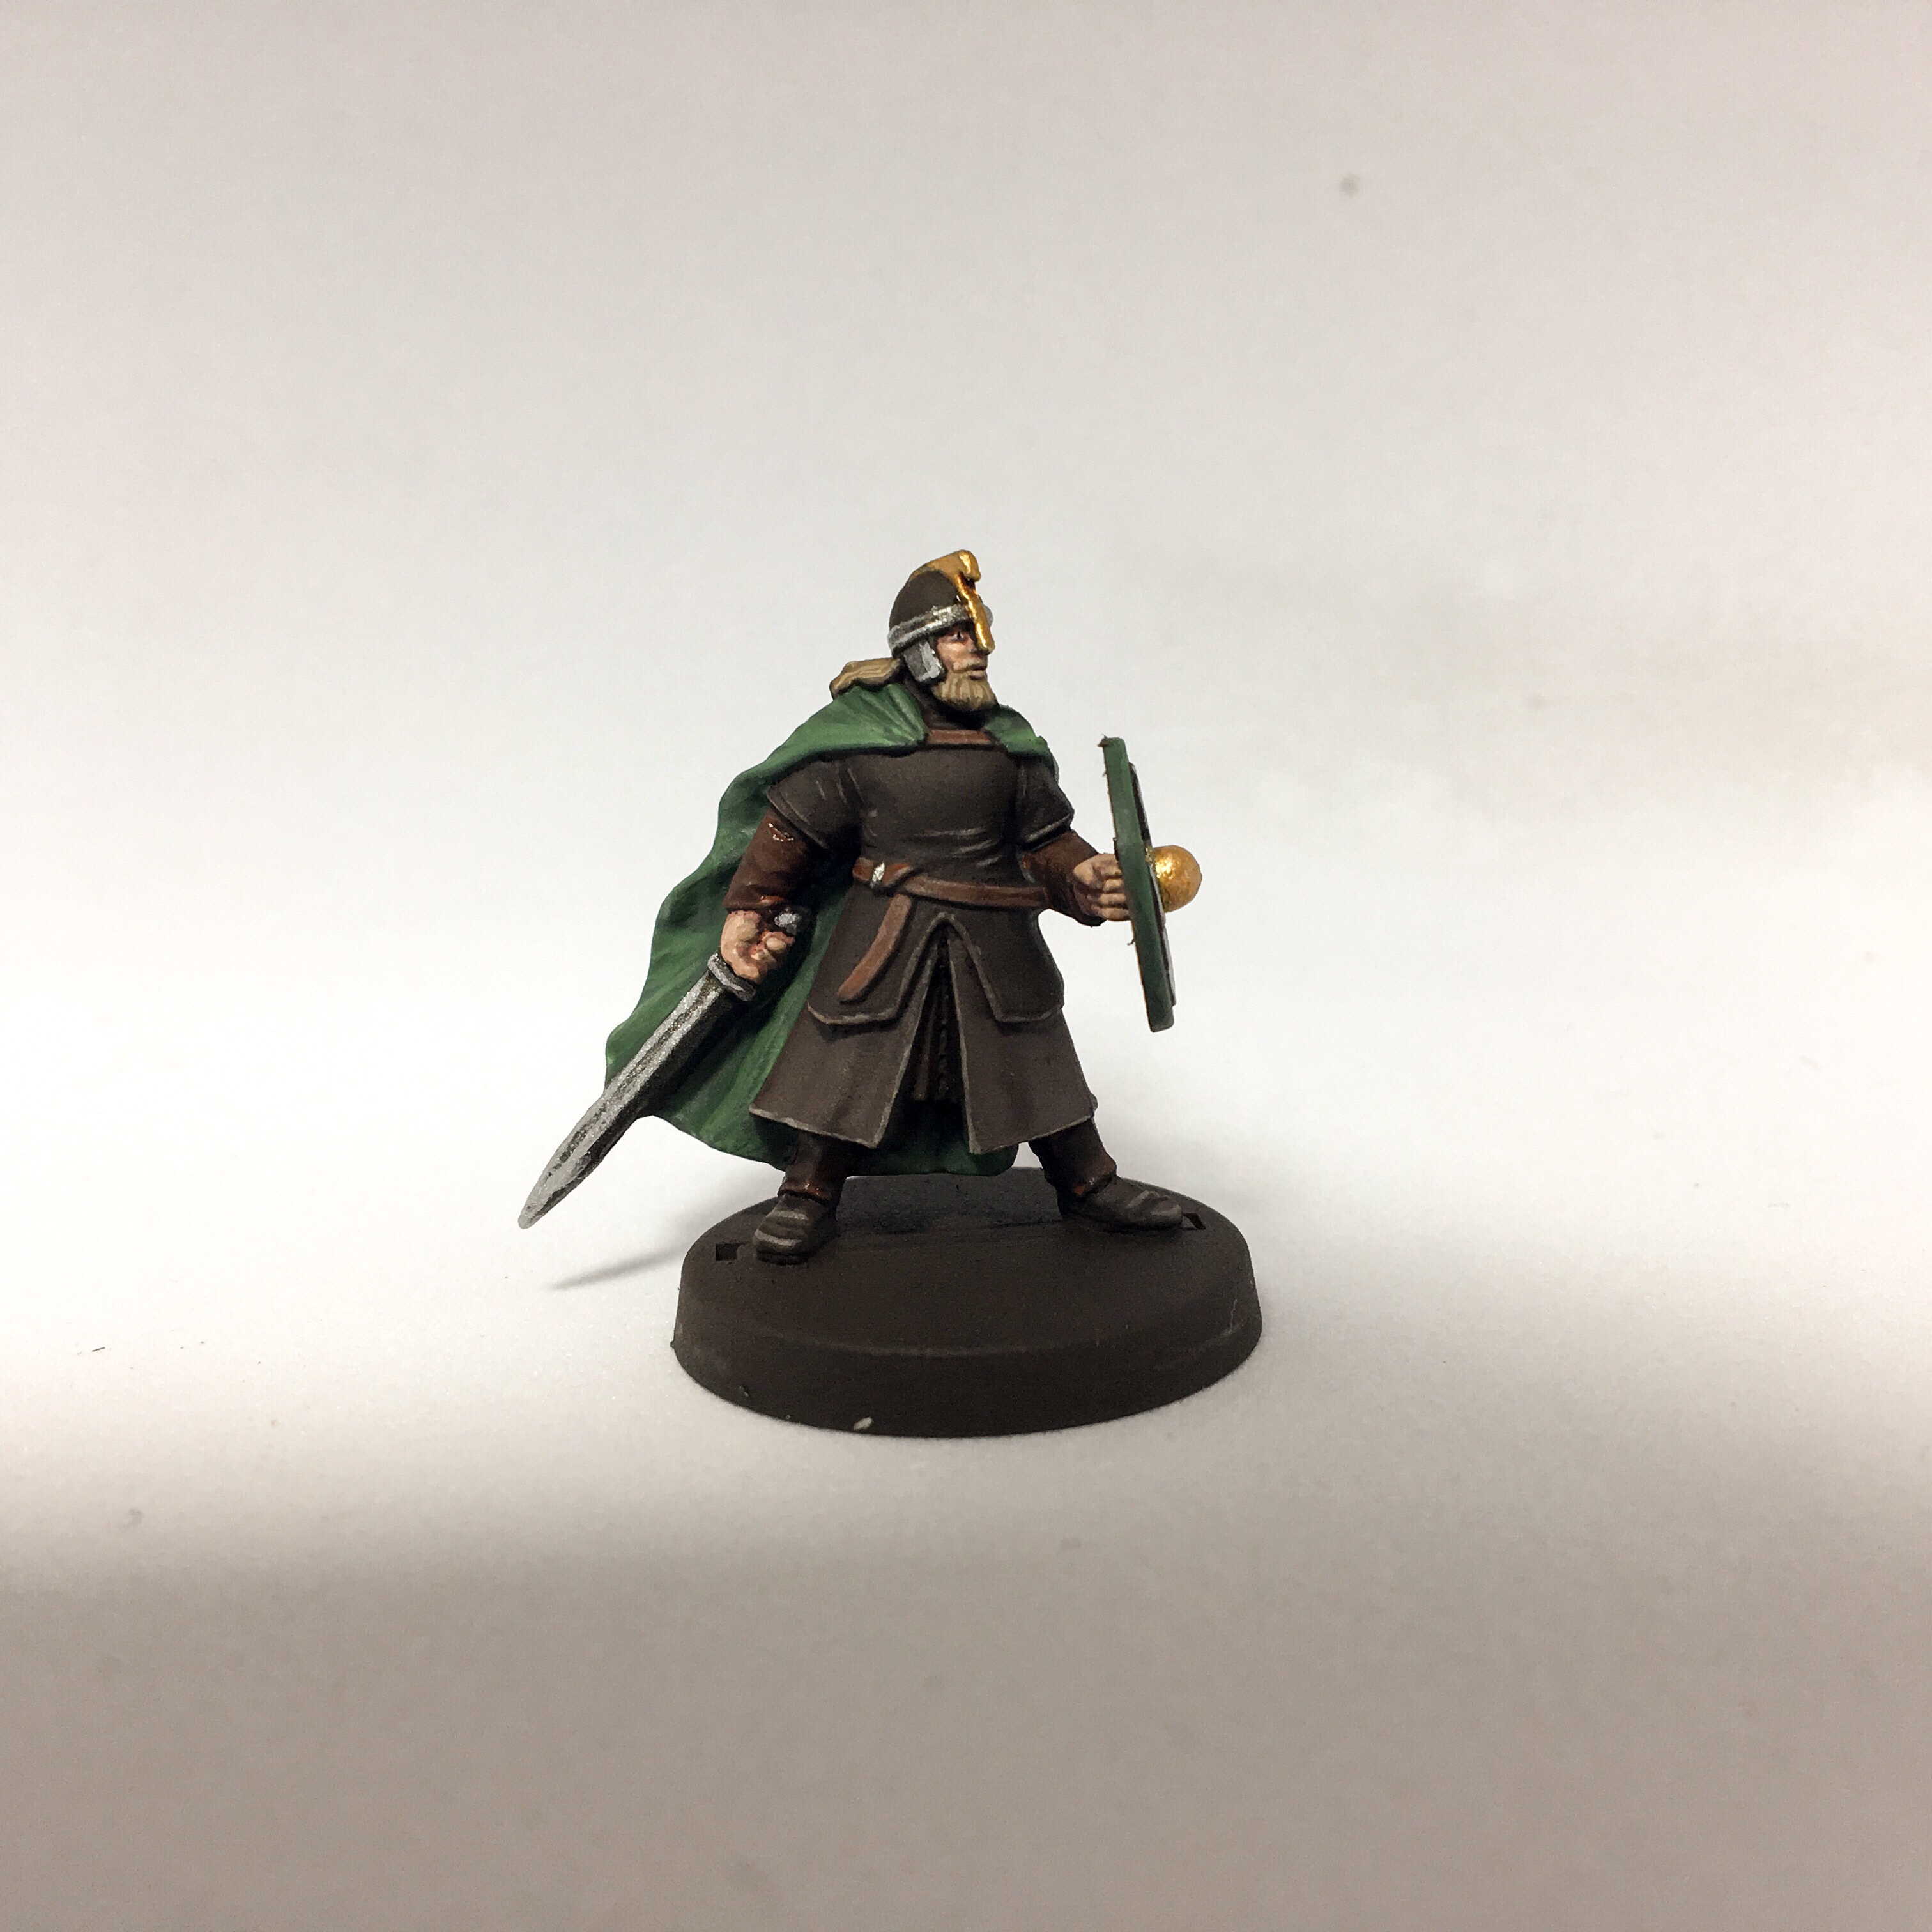
- Base the model how you see fit – here I used Stirland Mud drybrushed with Baneblade Brown, a little static grass and a tuft. I always use XV-88 for the rim of my collection.
That’s all there is to it!
Hopefully some people will find this quick and dirty guide helpful to get your boxed-set painted. Obviously you could spend a lot more time layering between colours etc if you wanted to!

Thank you, this guide is exactly what I was looking for. As a late beginner I just bought the Pelennor Box and will practice painting with the Rohan warriors before Witch King, Theoden and the Troll.
It would be awesome if you continue publishing such guides also for the other models in the box.
Again, great job and thanks!
Thanks, glad you found it helpful.
I’ll pop a guide up for Warriors of the Dead when I can – I’ve not painted my Witch King, Theoden or Troll yet either so don’t know when I’d be able to do that I’m afraid.
I painted my Warriors of the Dead first, because I thought it’s easier to start with them.
I progressed like this:
1. Sprayed white
2. Painted everything in Celestra Grey
3. Washed everything with Biel-Tan Green
4. Layer of Ulthuan Grey
5. Highlights with White Scar
6. Chain Armor and Weapons with Lead Belcher, then a little bit of Coelia Greenshade and edges in Stormhost Silver
7. Base first Stirland Mud, then Agrax Earthshade and dry brushing with Dawnstone
Look here: https://twitter.com/DarkUriz3n/status/1095392225377304576
Today I started with the Rohan Dudes inspired by your guide 😉